
|
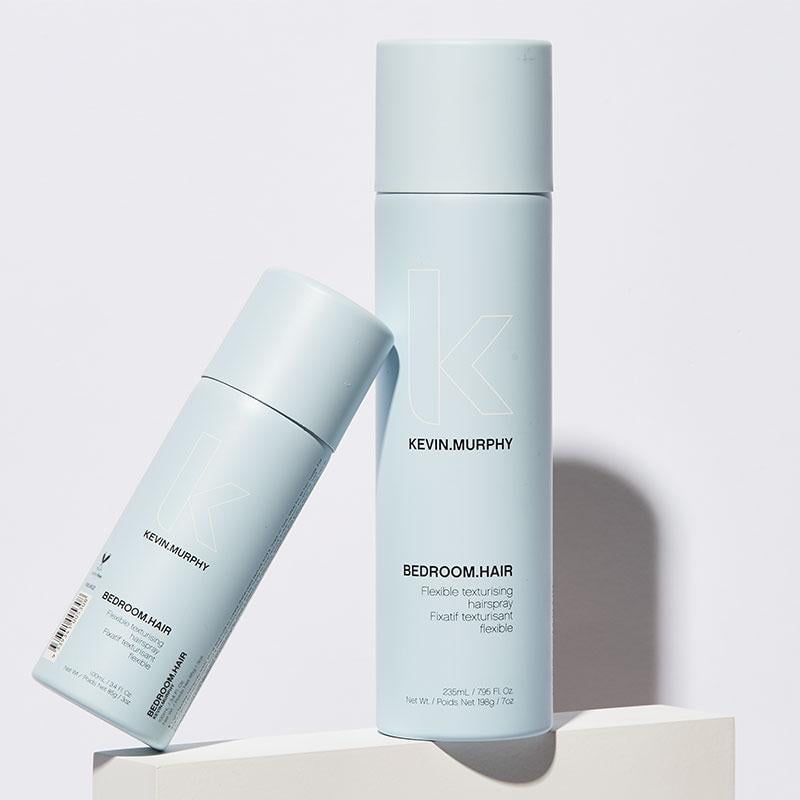
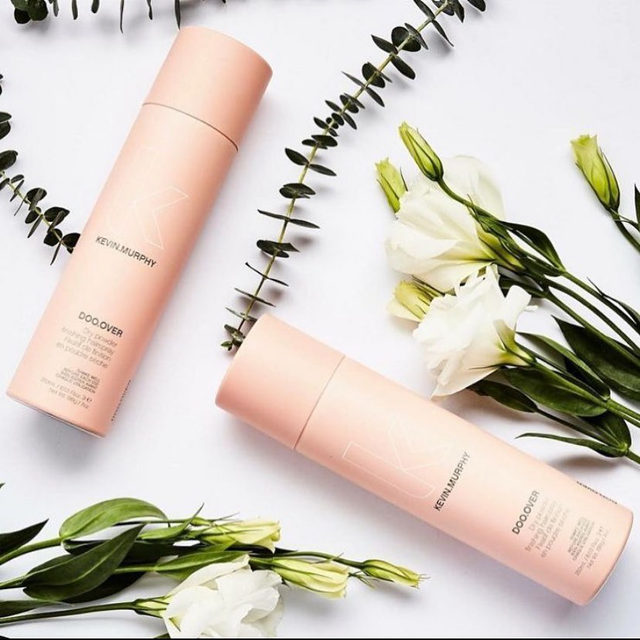
Texture spray is a super versatile product, and one that everyone should have in their home hair product collections! Texture spray can be used to achieve more volume, to separate curls or waves, and some can even be used to absorb oil to help extend your style! There are two main types of texture sprays: dry texture sprays and sea salt sprays. Dry texture spray is applied to dry hair to add texture and separation, while sea salt spray is applied to wet hair to create a beachy texture working with natural wave patterns. As hairstylists, our team is obsessed with the dry texture sprays and we use them on our clients! The best part? They are honestly such an easy product to use: after styling just spray the texture product in before hairspray (if using hairspray), brush it through, and then apply again! Our favourite dry texture sprays are: Kevin Murphy BEDROOM.HAIR
Kevin Murphy DOO.OVER
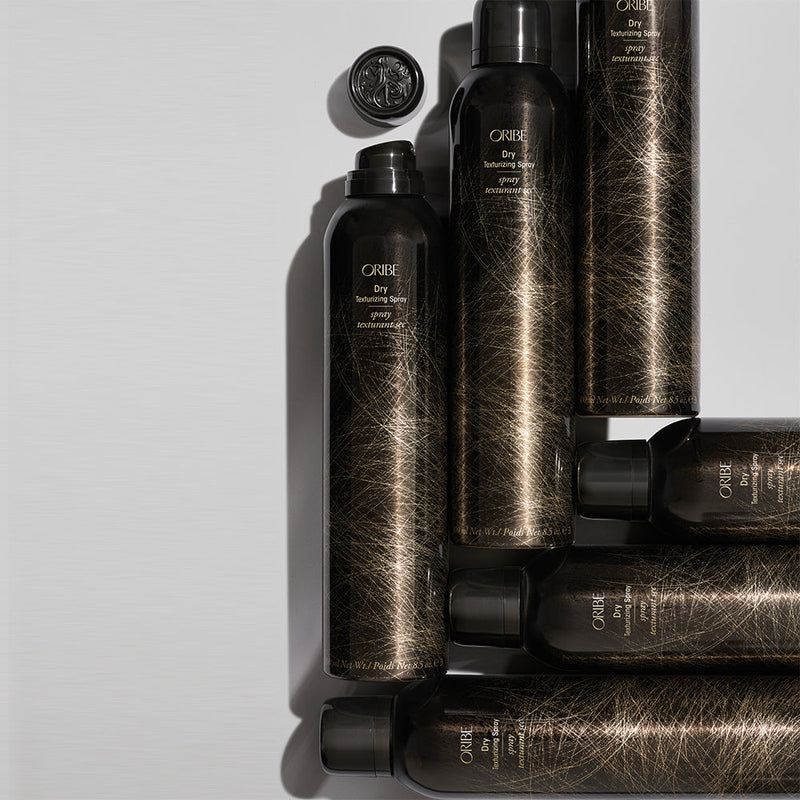
Oribe Dry Texturizing Spray
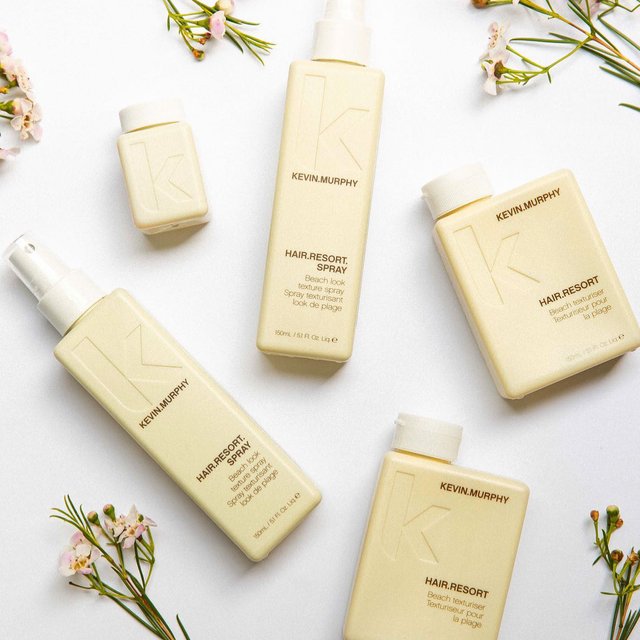
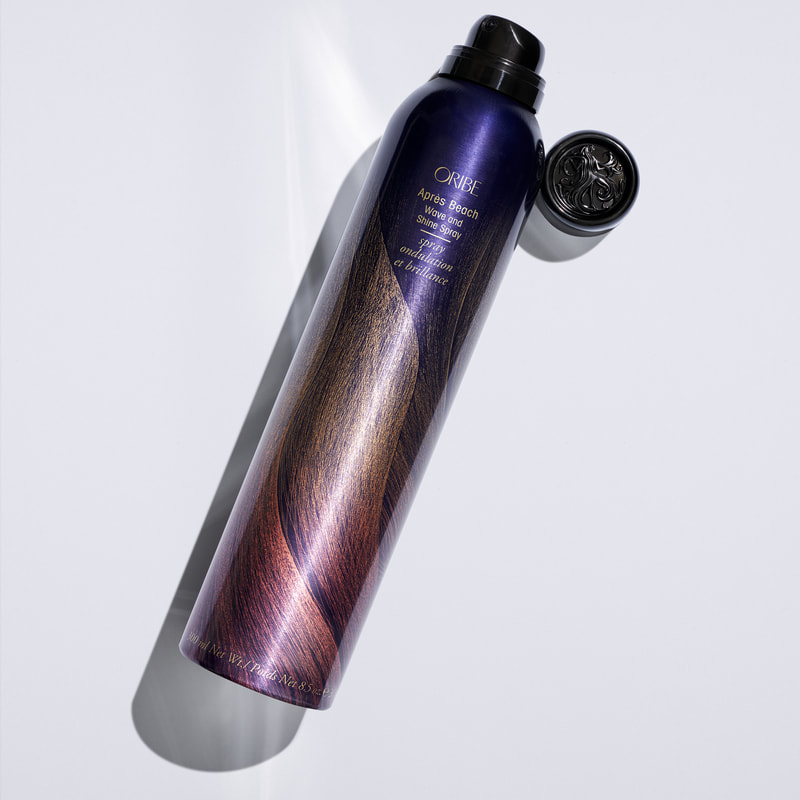
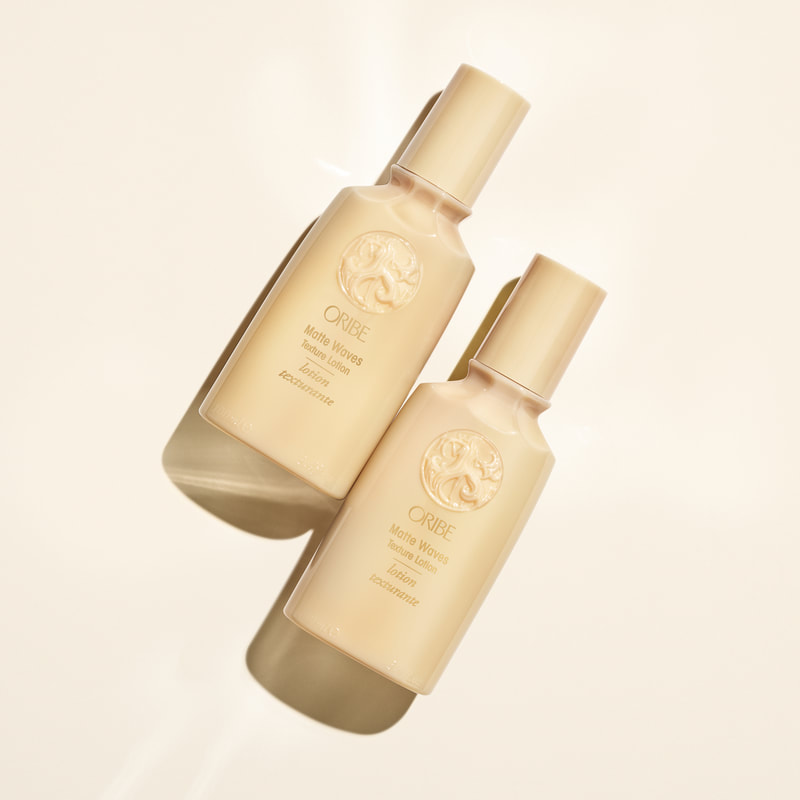
For those beach wave days, my go to salt sprays are Hair Resort Spray from Kevin Murphy, and Oribe’s Après Beach or Matte Waves. They help build that wave and texture and they smell aaaamazing!!! Now that we have shared all my texture faves with you, we want to know… Do you use texture spray? Tell us in the comments or send us a DM to chat about styling and product recommendations!!
0 Comments
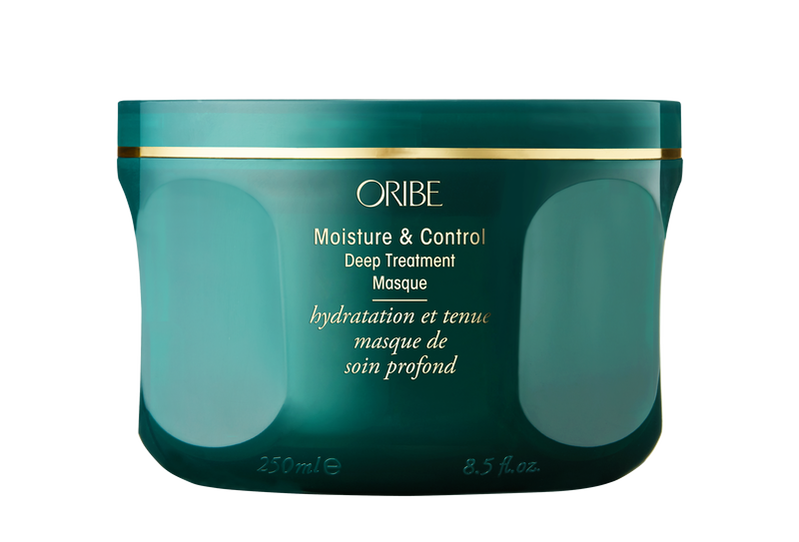
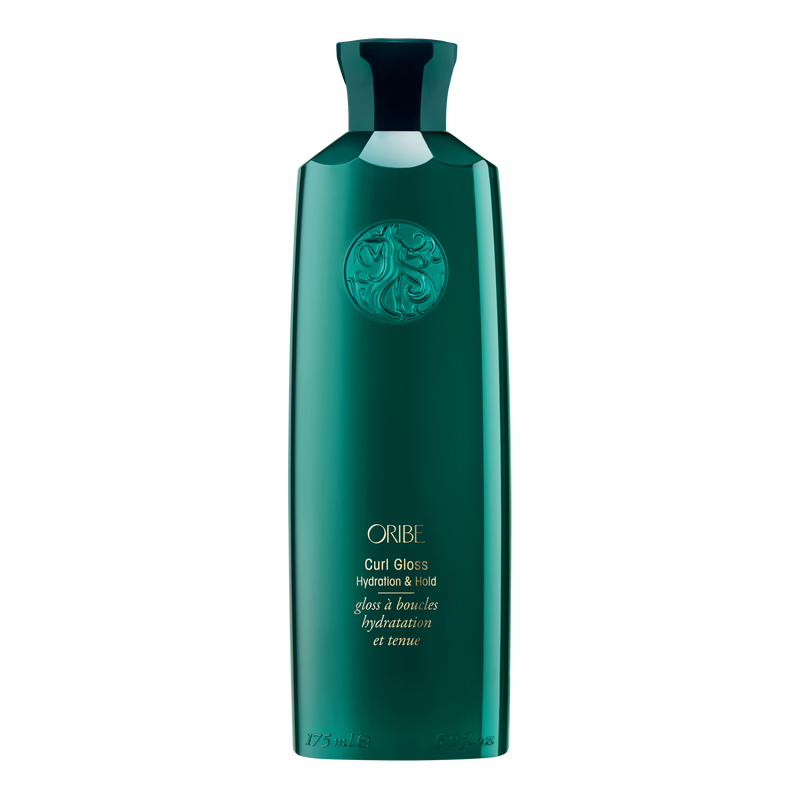
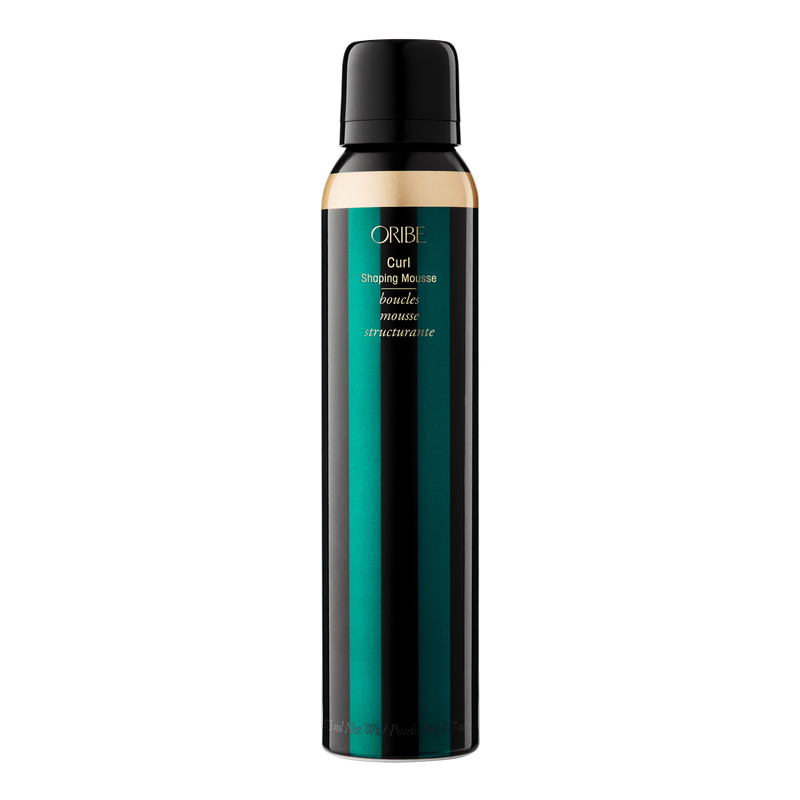
Curl friends, it’s your time! Wondering what the CADŌ is all about?
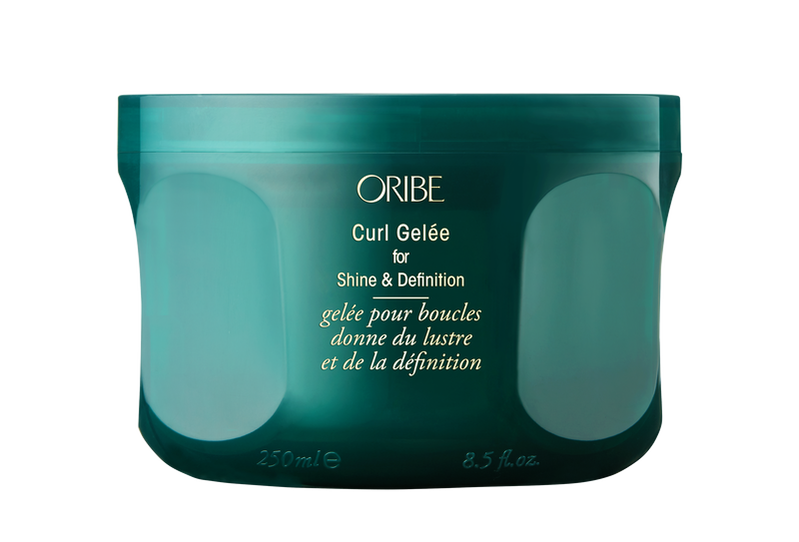
After experimenting and perfecting my cado skills, I have found that Oribe has some amazing products; the Curl Gelée, Moisture Mask, Curl Gloss, and Shaping Mousse are my top products when doing both CADŌ cuts and styles! Here are the deets on managing and achieving healthy, defined, bouncy curls at home:
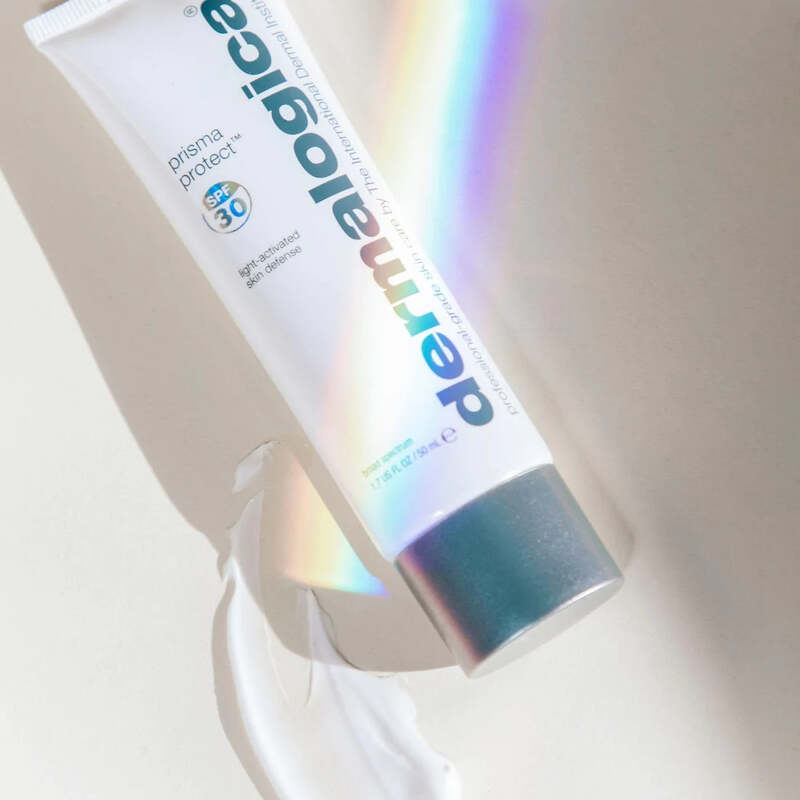
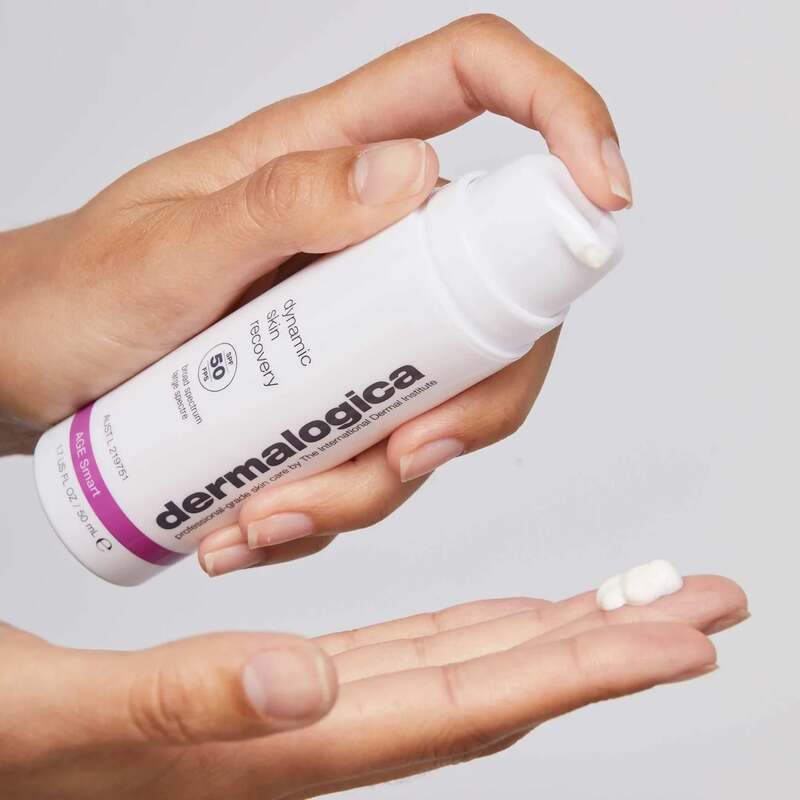
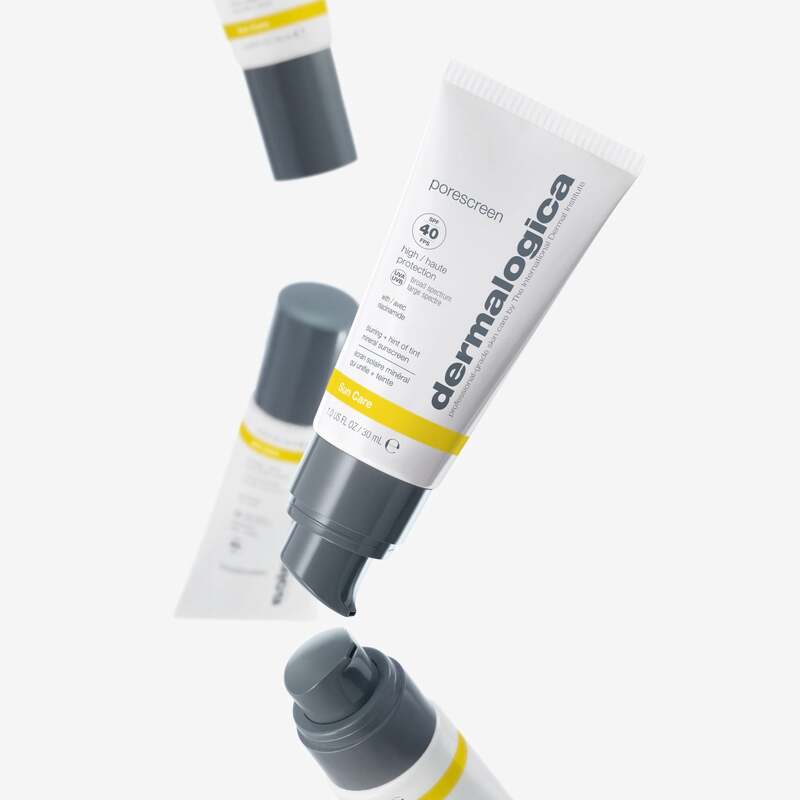
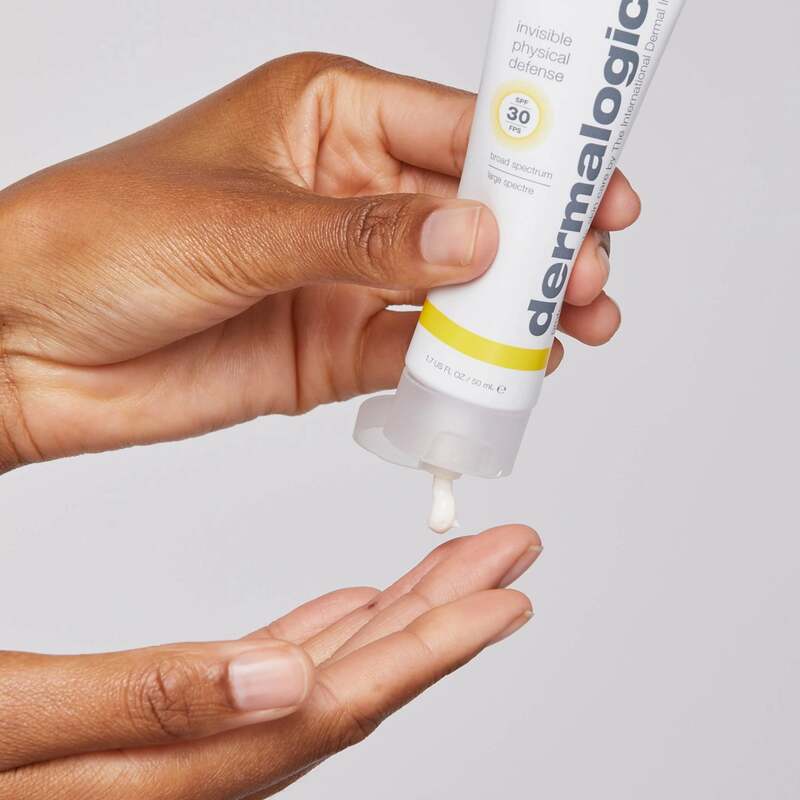
Invest in your curls now - thank me later 💋 xo So it’s time for a new sunscreen, but which one should I get? There’s the cost effective ones I can grab at the drugstore, but do they really work? Then there's the ones I can invest in, but what makes them special? The answer is you need a Broad Spectrum Sunscreen. But what is a broad spectrum sunscreen? A broad spectrum sunscreens protect from both UVA & UVB rays. Here is an easy way to remember the difference: UVB rays are what cause Burns - these rays cause sunburns, aging, & potentially skin cancer UVA rays are what causes Aging - these rays cause aging & potentially skin cancer UVA rays make up 90% of UV radiation, are here year-round, & penetrate through the clouds, glass, etc. Applying broad spectrum sunscreen daily is the best way to prevent fine lines, wrinkles, aging, sunburns, etc. What do the numbers on sunscreen mean?The number listed on a sunscreen tells you how long it would take the UV rays to redden your skin compared to not wearing sunscreen at all. For example, if you are applying an SPF 40, it should take 40 times longer to burn compared to if you were not wearing SPF. If you apply one product daily, it should be a broad spectrum sunscreen! Which broad spectrum sunscreen should I use?
Still have questions? Come visit me at Salon Society for a complimentary skin consultation or send me a message on Instagram (@Hopeatsalonsociety) & lets figure out what products are right for you!
Hair is composed mainly of keratin, a protein formed by amino acid molecules sourced from our food. Exposure to the sun, pollution, and changes in our lifestyle can be factors in dry, brittle, and lifeless hair. Here are some mistakes we make that can cause damage to our hair:
Healthy and strong hair is critical and can be achieved with the proper maintenance, care, and a little love! If you want to learn more about how to create the best hair routine for you, you can always schedule a free consultation or a haircut with us and we will be more than happy to help.
Hey everyone, Miranda from Salon Society here to talk about growing long and healthy hair! I know that those long-hair goals can be tough to achieve - and you are definitely not alone if you are feeling confused or frustrated by a lack of progress. Does it feel like your hair grows the slowest in the whole world? Or maybe know it’s growing because those roots are getting noticeably longer… but your length is not changing?? There are some huge factors that tie into these issues and I am here to help with some top reasons why your hair might not be growing: 1. Not Enough MoistureMoisture is KEY, especially for my curly peeps. Without moisture our hair will not survive the long, dry prairie winters or the hot hot, dusty summers. Did you know dry hair is the number one cause of split ends, breakage, tangles, and dullness? A good way to avoid dryness and breakage is to use hydrating products that match your hair needs - to find these shoot me a DM or book a free consultation! Frequent treatments, hair masks, applying oils, and avoiding drying products (such as dry texture sprays and dry shampoos) are also good ways to up your hydration levels. 2. Lacking VitaminsJust like our skin needs vitamins to be glowy and healthy, so does our hair. When we lack these things our hair can seem brittle and not hold onto the moisture it needs. I always recommend Collagen, Biotin and Vitamin E to all my clients when they feel like their hair is not growing. Research shows that deficiencies in vitamins and minerals can lead to early hair loss and thinning. Try adding a multivitamin and a hair serum containing vitamins to your morning and/or night routine! 3. Water Intake Remember Reason #1? Water makes up almost 25% of the total weight of a single strand of hair. It is also the key ingredient in supporting vitamins, which contribute to hair growth. By drinking at least two litres of water a day, your hair will strengthen and grow (and it is super beneficial for your skin and overall health too!!). 4. Everyday WashingWhen we wash our hair every day we strip away all those beneficial healthy oils - and when we lack oil our scalp panics and starts overproducing sebum to make up for the loss. This is what makes your hair seem “greasy”. Washing your hair every day can cause your hair to dry out very fast and lead to breakage. Many people think by wetting your hair, you are giving it hydration, but that isn't the case. The Ph of our water tends to sit around a 7, our hair needs to be between 4.5-5.5 to stay healthy. Try leaving a few days in between your washes, I know it's hard but it will be worth it. HOT TIP: Check out Nadine’s blog on Co-Washing here to learn how to go more days between washes! 5. Using the Wrong ProductsUsing quality salon products is super important. When you buy drugstore products unfortunately you are not getting a bottle of that luscious hair advertised on TV - you’re often harming your hair with harsh chemicals, alcohols, and sulphates that cause hair thinning, breakage, and discoloration. By using the lines we sell in-salon like Kevin Murphy and Kérastase, you are getting products that have been developed for professionals that are clinically and SASO-tested. These salon products give your hair a better chance of healing, becoming healthy, and maintaining its health. If you are having trouble finding the right products leave a comment, send me a DM, book a free consultation, or just swing by Salon Society and have a chat with one of us - we love sharing product knowledge! 6. Not Protecting Your Hair While You SleepIt is very important to protect our hair while we sleep, especially if you have curly hair or extensions. When we sleep we tend to create friction against our cotton pillows. This friction causes hair to matt, split, and break. A few ways to protect your hair while sleeping are to use silk or satin pillowcases, wear a silk bonnet, braid your hair, sleep with a night serum in - or even better all of the ABOVE! Trust me guys, I do ALL of these things and it has been a game changer!! 7. Heat DamageHot tools such as blow dryers, curling irons, and straighteners can seriously damage your hair. Using high heat on a day-to-day basis, especially without heat protection, can be a huge cause of dry broken hair. You can try cutting down the frequency with which you apply heat to your hair, and add in a really good heat protectant. Instead of heat styles, try heatless styling with braids, heatless curling techniques, claw clips, scarfs and hats to spice up your style routine! You're probably thinking, “Jeez, you sound like a broken record”. I'm here to tell you you're not wrong.! All of these things legitimately tie into one another. Think of it like the domino effect; when one thing is off, the rest can slowly spiral out of control as well. 2023 is the year we say goodbye to dry, broken hair. Let's put ourselves first, start a good routine and make healthy habits!
Hey! I'm Hope, and today I wanted to touch on a topic that is really important to me: touching or asking to touch a Person of Colour (POC)’s hair. First and foremost, you should never touch another person, including their hair, without asking. It is a super basic concept that is pretty shockingly ignored at times (e.g., POC’s hair or pregnant women’s bellies) - but I think we can all agree it is SO uncomfortable to be touched without consent. Now onto asking to touch a POC’s hair and I would like to start with a little exercise. If you are not a POC, I want you to think about the last time a POC asked to touch your hair… I’d be willing to bet this has happened slim to never. When I was growing up I was a part of predominantly white communities and often at school, at church, and even in grocery stores, people would ask to touch my hair. Now, this really sucked, because when someone reaches to touch my hair, it signals that I am different. It may not be intended or mean-spirited but it definitely draws unwanted attention and singles me out as different. By asking to touch a POC’s hair you feed into the stereotype that the only “normal” types of hair are straight, fine, less textured hair and that by contrast, our hair is unusual and different and so completely outside the norm that it has become a novelty! It can conjure up feelings of otherness and really make one feel like they are on display - so just really not a great feeling overall. Now that I am an adult, I handle these situations with education, tact, and boundaries. However, thinking back to that little girl that I was, and thinking about all the other little children out there with textured hair today, I just wish there was more education surrounding the topic. The Big Takeaway: If someone wants you to touch their hair, they will offer and you won’t have to ask. So now you know why you should not touch or ask to touch a POC’s hair - but is there a way to express interest without causing bad feels? Of course! If you are interested in learning about someone’s hair type or style, simply ask them to tell you about it! Open up a positive dialogue: say you think their hair is gorgeous or their style is so cool. Ask questions about where the style originates, how long it takes to style like that, how long the style will last, and so on. Real genuine interest is always welcome!
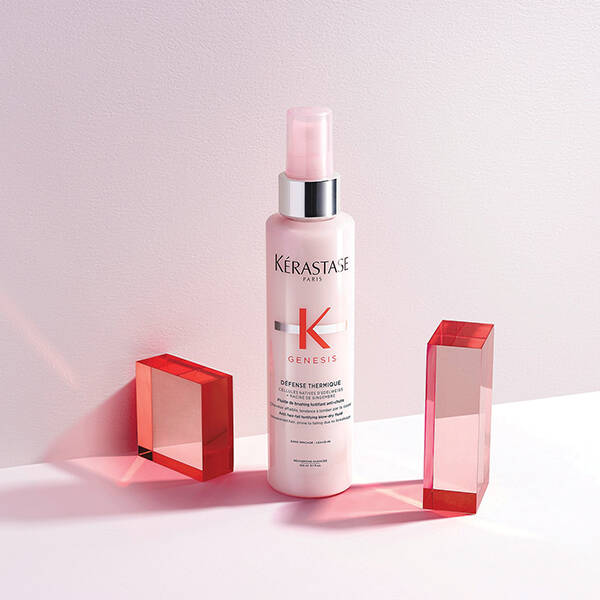
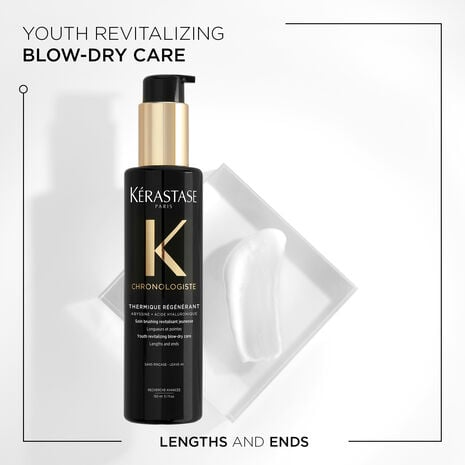
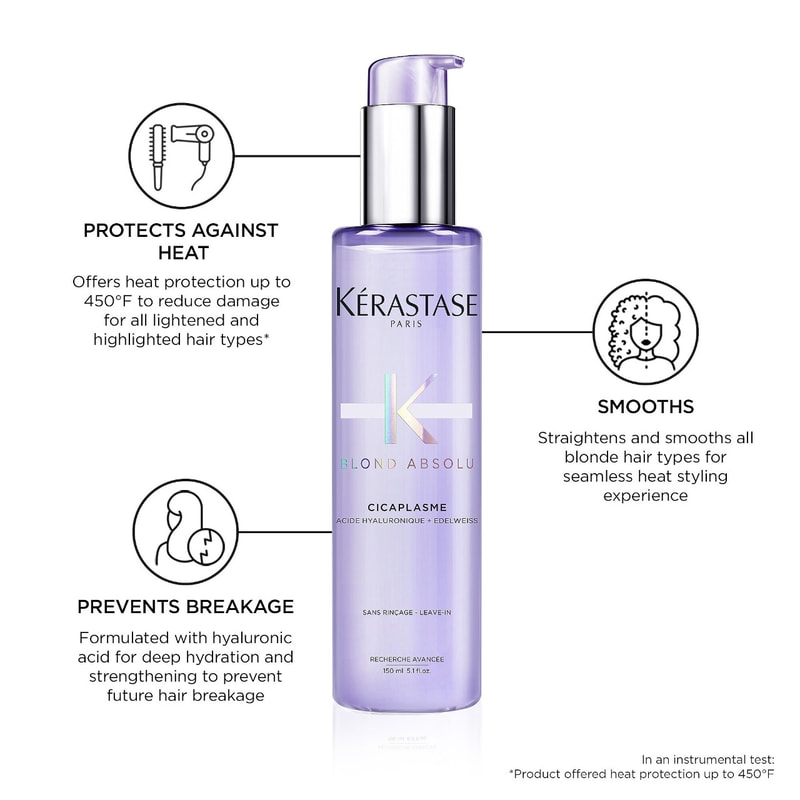
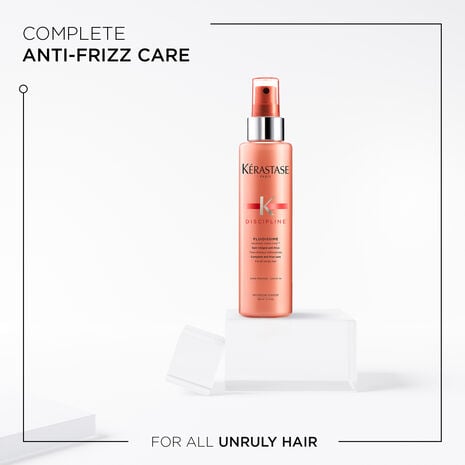
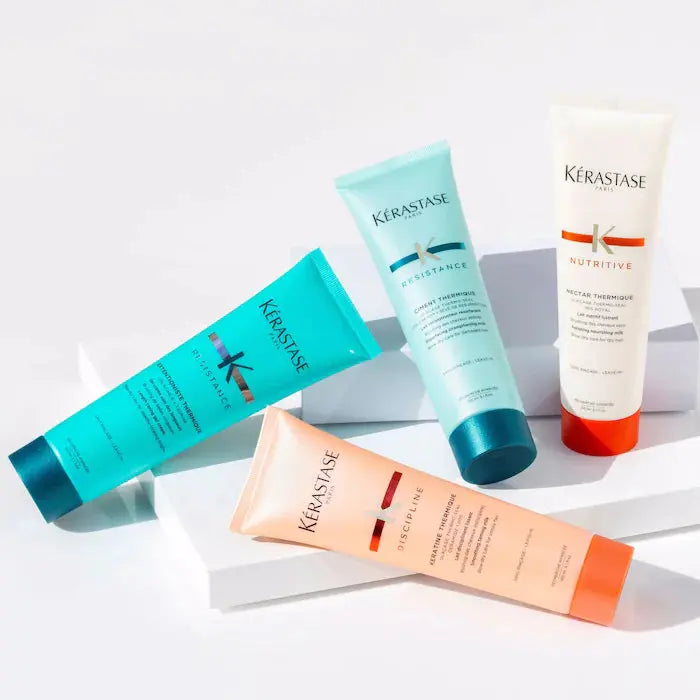
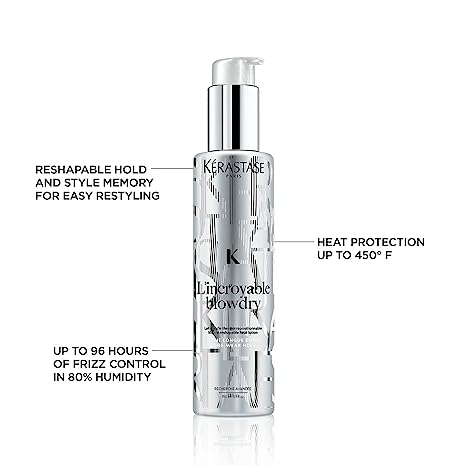
Using Heat Protectant is essential when using hot tools on your hair - but why? Heat protectant products help to reduce the amount of damage that your hair sustains when exposed to high temperatures. They work by forming a protective barrier around the hair shaft, which helps to prevent moisture loss and breakage. Still not convinced? Here are some of the main benefits of heat protectant: 1) Avoid Split Ends & BreakageOne of the main benefits of using heat protectant is that it can help prevent split ends and breakage. When using hot styling tools on your hair, the high temperatures can cause the hair shaft to become dry and brittle. By using a heat protectant product, you are actively promoting healthy and strong hair! 2) Reduce Frizz & FlyawaysWhen you use hot tools on your hair, the high temperatures can cause the hair cuticle to become rough and uneven leading to frizz and flyaways. Using a heat protectant can help to smooth the hair cuticle and reduce frizz, leaving your hair smooth and shiny! 3) Extend the Life of Your HairstyleThe use of hot tools without heat protectant can cause your hairstyle to fall flat more quickly. Using a heat protectant will help to keep your hairstyle looking fresh and bouncy for longer! Heat protectant products are an important step in protecting your hair from damage caused by hot tools. Say goodbye to split ends, breakage, frizz, flyaways, and flat hairstyles with some of our favourite heat protectants: KEVIN.MURPHY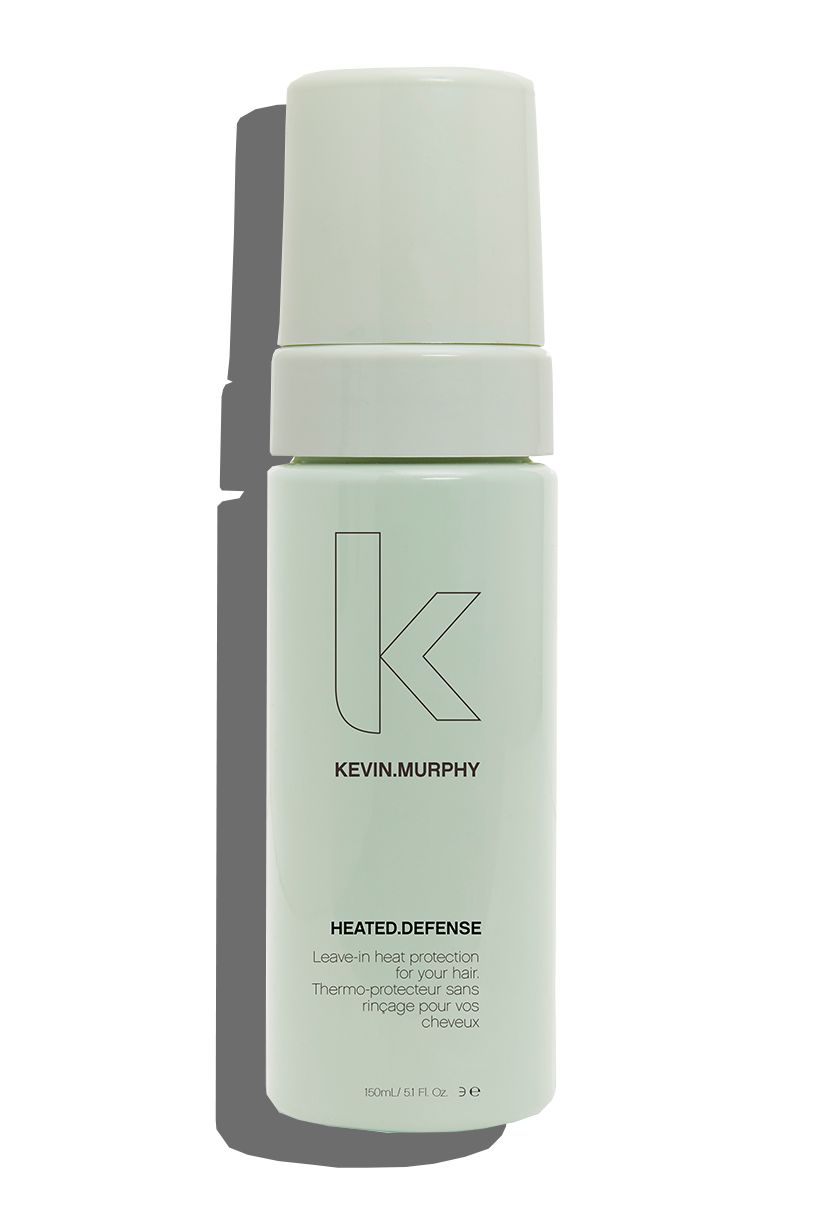 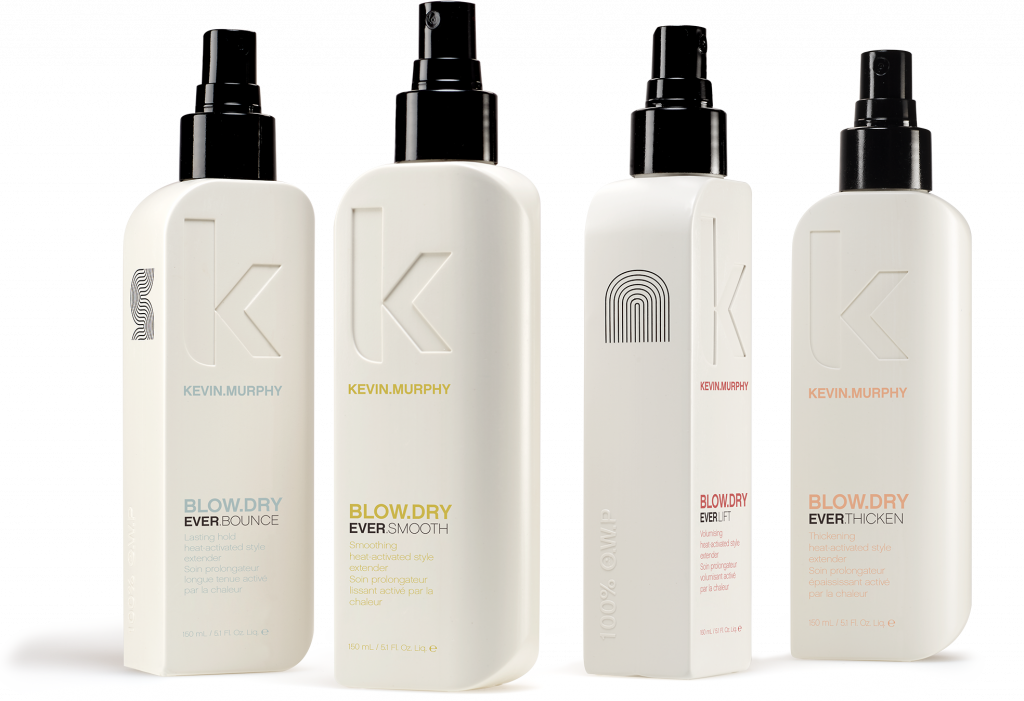 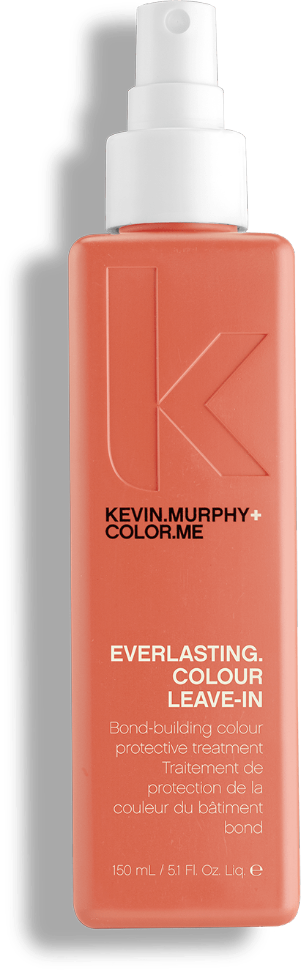 KÉRASTASEFor more information, feel free to contact us at 306-581-4247 or book in for a free consultation with one of our talented stylists! Breakouts. Those stubborn things we want to go as fast as they appear. When dealing with these pesky guys, there are specific dos & don’ts we need to follow to make sure they heal properly!
I hope these 5 steps can help you manage future breakouts! If acne is something you struggle with, check out my Acne Bootcamp. Plus if you have any other breakout or skin questions please shoot me a DM, leave a comment, or book a free consultation.
As an extension specialist, one of the most common questions I get in my DMs is: “What is the difference between Weft Extensions and Tape-In Extensions?”. So let’s get into it! 1. Application MethodTape-In Extensions are attached to the hair using adhesive. They are applied by sandwiching your own hair in between two individual tapes. The number of tapes needed will depend on your desired length and/or thickness. The process is repeated with tapes needing to be removed and re-installed each time to move them up. This is repeated roughly every 5-6 weeks, depending on your hair growth rate. Hand-Tied Weft Extensions are applied by sewing the track of hair into your own hair with a stitching method using beads, string, and a sewing needle. Your stylist will place a row of beads along your head and then sew the hair into place. A move-up can be done 1-3 times without taking the extensions out fully and repeating the whole process. These move-ups are highly recommended to be done every 5 weeks to avoid an overgrown weft. *Depending on your stylist's skill level with each method, the application times can vary. Personally, it takes me roughly the same amount of time to install a fresh set of extensions of either type, although Express weft move-ups are fast and only take about 5-20 minutes! 2. Aftercare and MaintenanceTAPE-IN EXTENSIONS When the tapes are first installed, it's important to avoid excessive sweating, washing the hair, or using a sauna/steam room for the first 48 hours. It is also recommended to not wear your hair up in a tight bun or ponytail for the first week or so, as doing so can cause too much tension on your scalp. Tapes will need to be removed and reinstalled every 5-6 weeks. The removal is done by spraying the adhesive with a solution to dissolve the stickiness (by 6 weeks, they should be very loose anyways and come out easily), then removing and replacing the old tape adhesive with new, and repeating the process of applying the hair. HAND-TIED WEFT EXTENSIONS Wefts are similar to tapes in the sense of not washing them or getting them wet for the first 48 hours, and not to wear them pulled tight in the first week-ish. With both types it's best to allow your hair to grow a bit so there is less scalp tension. A weft move-up should be done every 4-5 weeks to avoid excessive grow-out space that can cause matting or unwanted damage to the weft's track. If move-ups are pre-booked on schedule, then your stylist should be able to perform an express move-up, which can be done 1-3 times if proper care is taken. An express move-up involves just moving the beads to re-tighten the weft, with no need to remove and reinstall every single time. *Salon quality products should be used for both tapes and wefts to ensure good hair health. 3. Styling, Volume and VersatilityBoth types of extensions will let you naturally style your hair. Although tapes can give you more of an all-over placement due to their customizable nature, they can be much harder to conceal in certain hairstyles. Depending on how long and thick your natural hair is, it may be harder to hide all the tapes in a high ponytail or other updo. With wefts, it is easier to conceal since they have a single track. When it comes to volume, you are still able to achieve some with tapes, although it is easier to have lots of volume with hand-tied wefts. And there you have the main differences between hand-tied wefts and tape-in extensions! If you’re unsure which type you’d like - book a free consultation!! I would love to help go over the options of which option will work best with your hair!
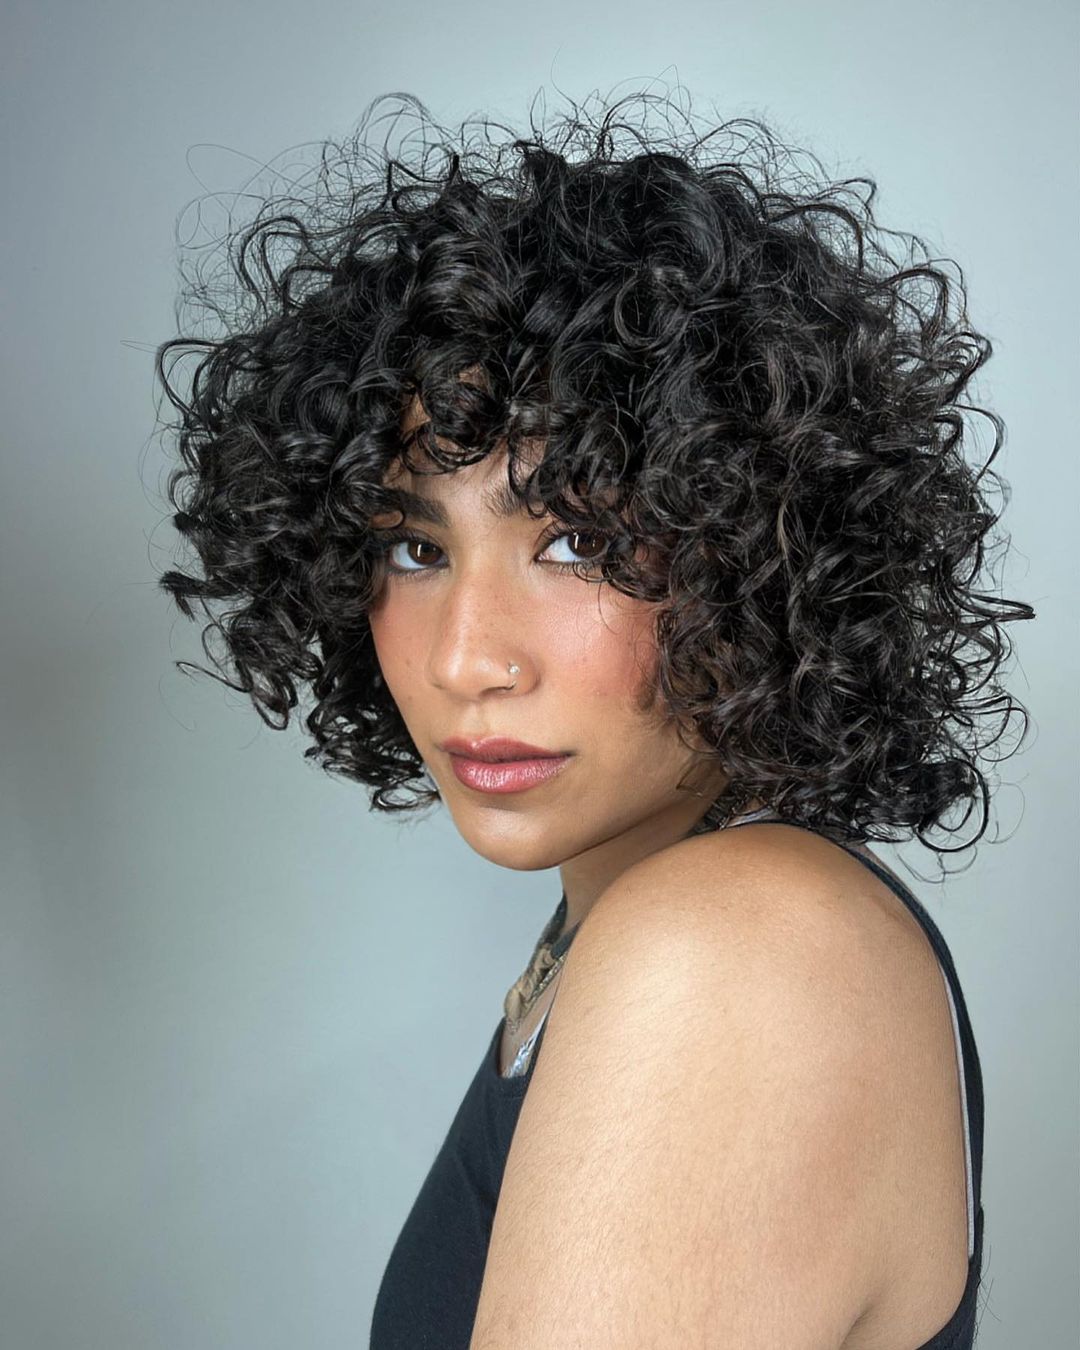
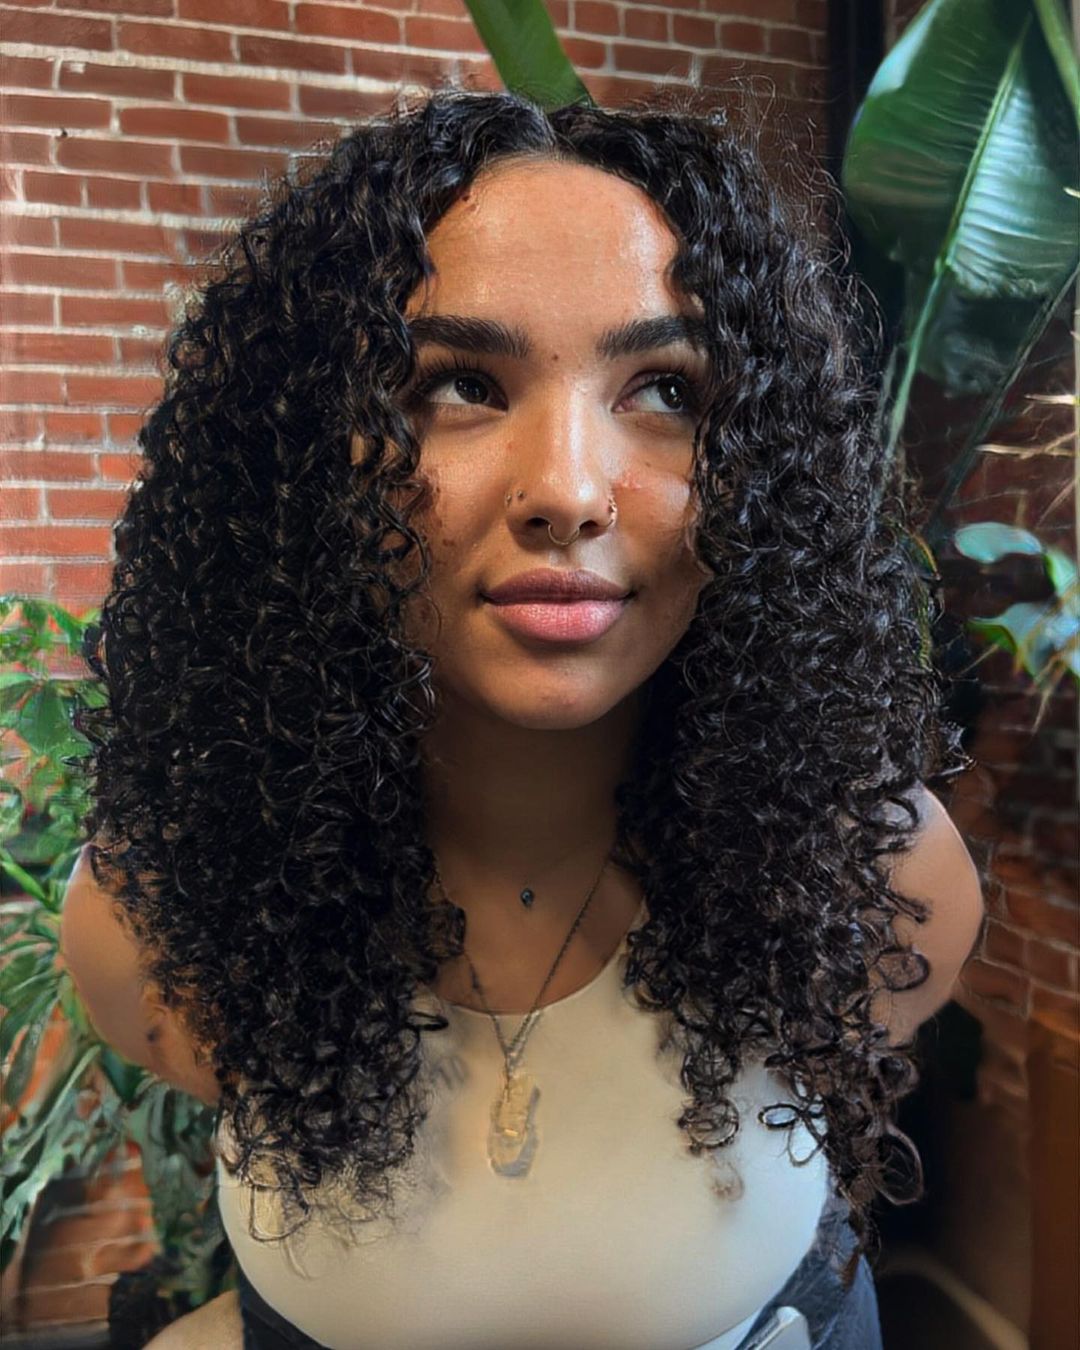
Hey there, it is the SASO Curly Hair Specialist crew here writing a collaborative blog to share about one of our all time favourite curly cutting techniques: The Cado Cut!
Textured hair is some of the most beautiful hair out there. With so many different variations of gorgeous curly and wavy textures there is so much individuality and so much to love... but oh man can it be difficult to find the style that works for you - this is where the Cado Cut comes in!
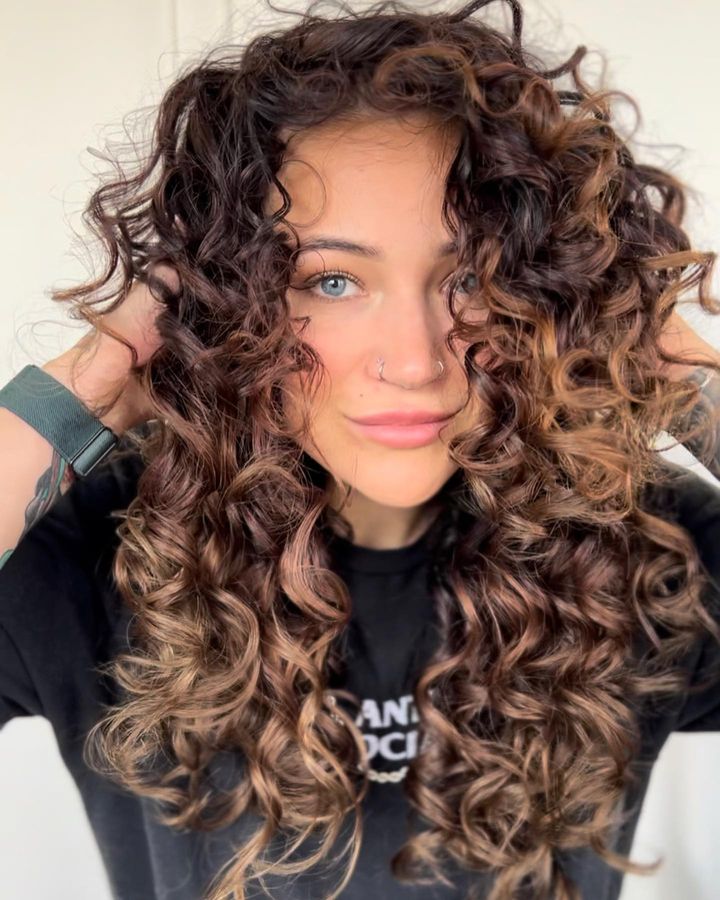
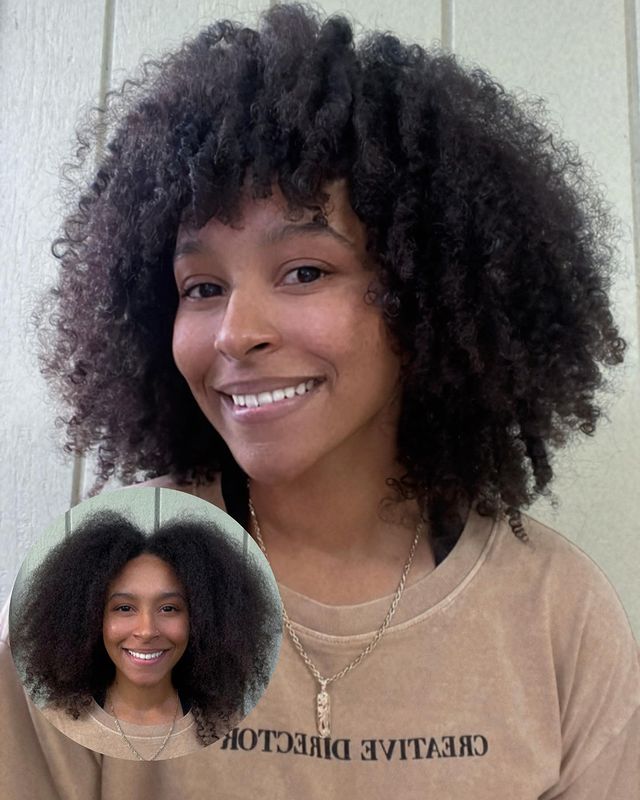
The Cado Cut is designed to create beautiful cascading layers, volume, and a balanced shape. This means that all types of curls and waves can be cut to enhance, define, and volumize that natural texture! And even better, this cut is designed to be completely customizable for what you as a client are looking for! Looking for more shape and definition? We've got you covered. Wanting more bounce and curl, without sacrificing length? You can have your curls, your bounce, and your mermaid hair too! You may be thinking: "Cool sounds great... but I have had disastrous haircuts in the past. Why should I trust you people??" Super valid question. First, some background on why you may have had some bad experiences: working with curls can be very intimidating for hair stylists. This is due to a few factors, 1- we do not get a good foundational education on curls in hair school and 2- there is an insane amount of different curl patterns and hair types that exist, so feeling confident to tackle them all takes time and practice. Unfortunately this gap in our traditional education leads to a lot of mistakes in the real world - this is the very reason why we have designated Curly Hair Specialists at Salon Society. Our team of curl experts have taken additional education and work with curls regularly to keep up our skills. We are also always on the hunt for new classes and new curly cutting techniques to ensure we can always meet the expectations of our curly clients - and that is how we found the Cado Academy.
The Cado Academy and cutting method class was honestly life changing for us! We all came out of that course feeling absolutely invigorated and can approach ALL curl patterns and hair textures with confidence and excitement. This course and new technique are probably some of the most rewarding and valuable education we have ever taken. Knowing that we are able to offer stunning results to every curly client is such an absolute dream come true!
..And we would love to help you fall in love with your curls too! Book for a consultation with one of us today and let's chat about your curly hair dreams - and then make them a reality!
check out some of our Cado transformations! |
SASO VIEWSExpert opinions from our team on all things hair, skin & nails! CATEGORIES
All
ARCHIVES
July 2024
|


 RSS Feed
|
|
|
|
© 2024 Salon Society Inc. All Rights Reserved.