|
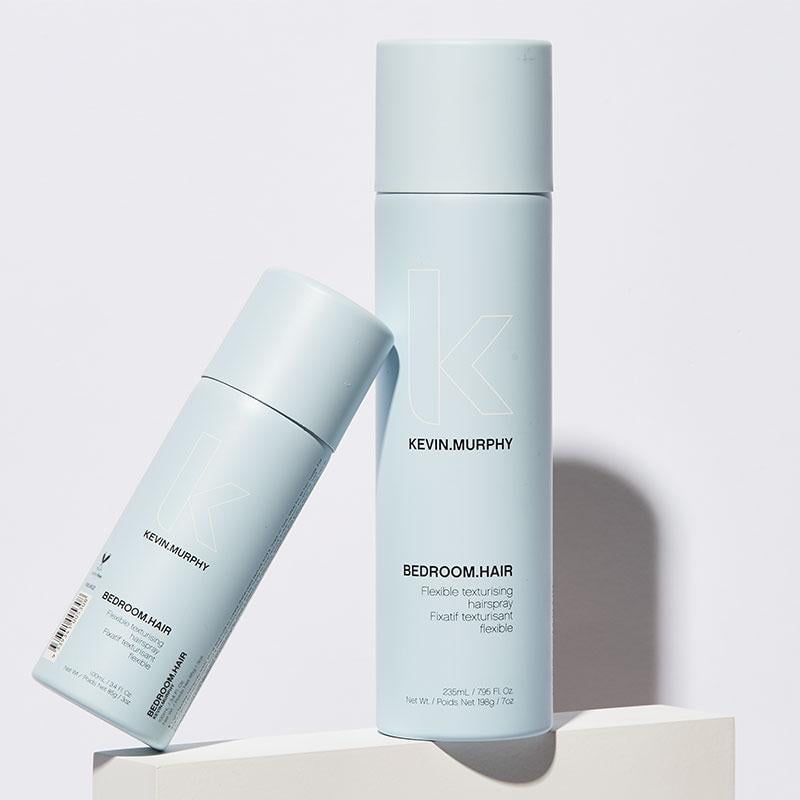
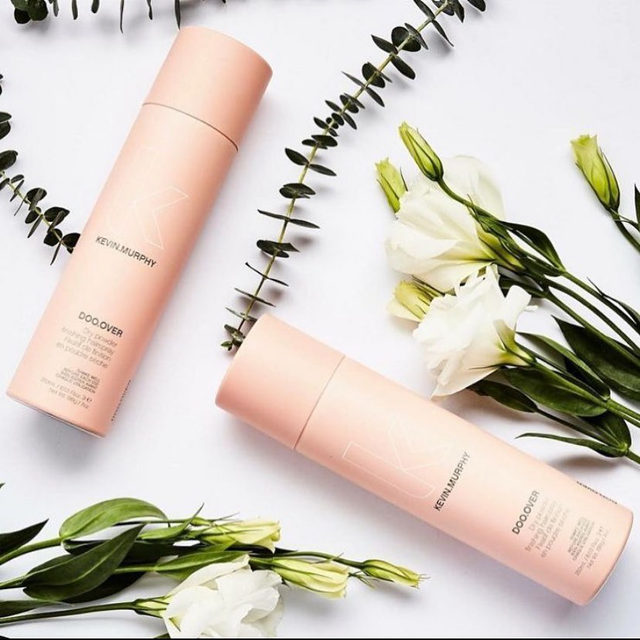
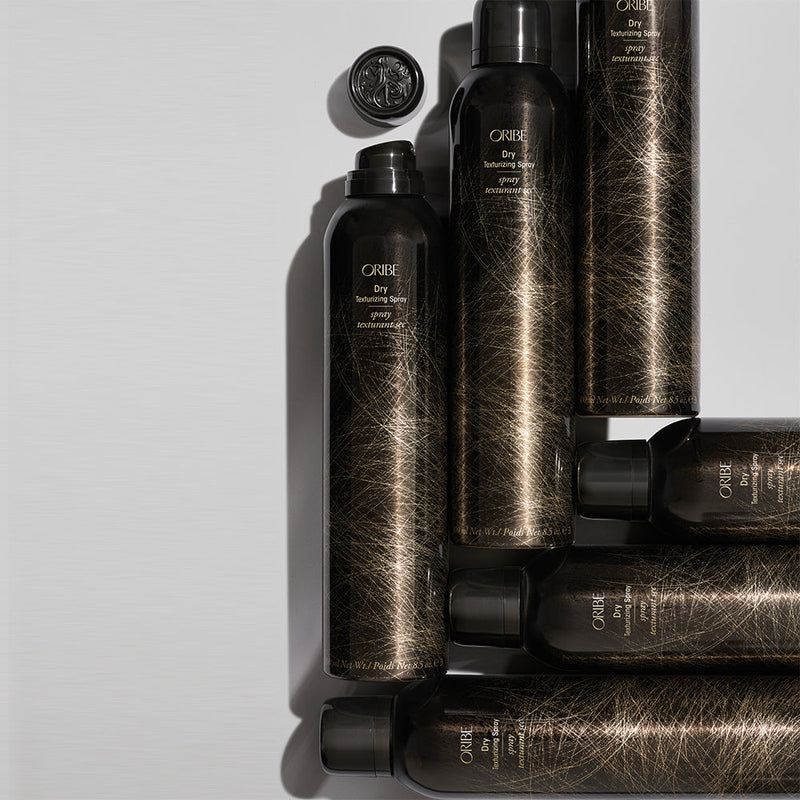
Texture spray is a super versatile product, and one that everyone should have in their home hair product collections! Texture spray can be used to achieve more volume, to separate curls or waves, and some can even be used to absorb oil to help extend your style! There are two main types of texture sprays: dry texture sprays and sea salt sprays. Dry texture spray is applied to dry hair to add texture and separation, while sea salt spray is applied to wet hair to create a beachy texture working with natural wave patterns. As hairstylists, our team is obsessed with the dry texture sprays and we use them on our clients! The best part? They are honestly such an easy product to use: after styling just spray the texture product in before hairspray (if using hairspray), brush it through, and then apply again! Our favourite dry texture sprays are: Kevin Murphy BEDROOM.HAIRKevin Murphy DOO.OVEROribe Dry Texturizing Spray
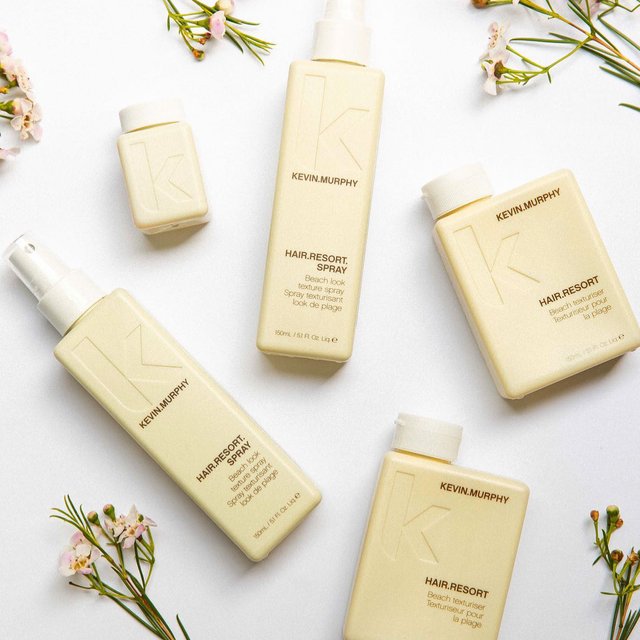
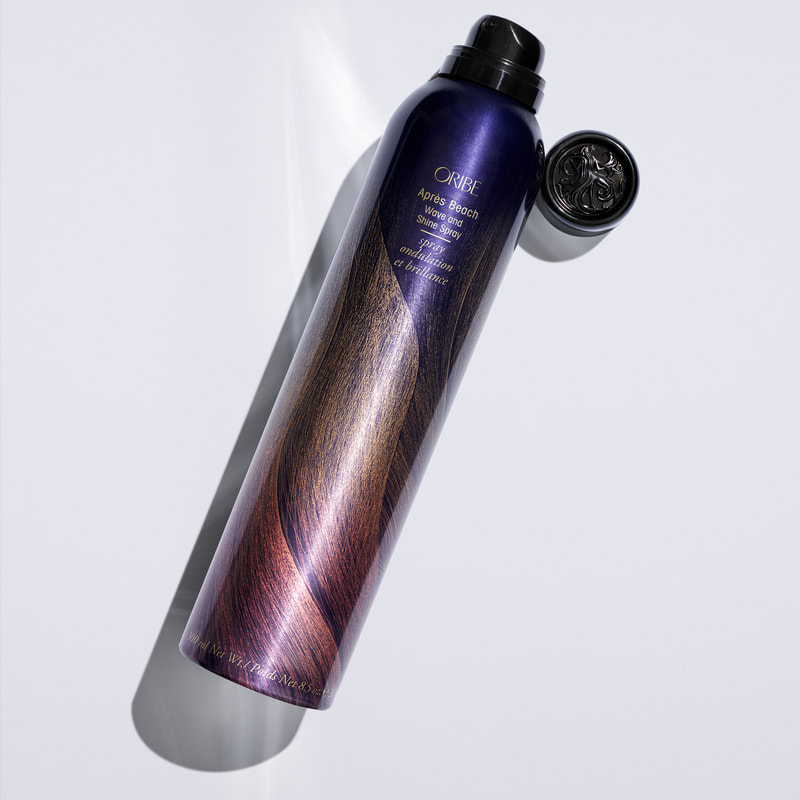
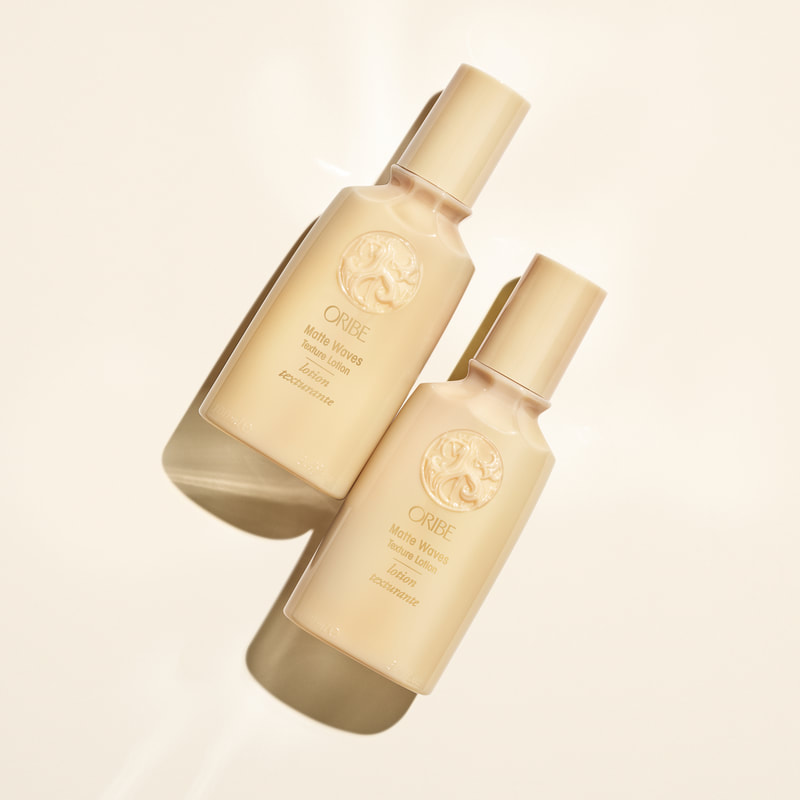
For those beach wave days, my go to salt sprays are Hair Resort Spray from Kevin Murphy, and Oribe’s Après Beach or Matte Waves. They help build that wave and texture and they smell aaaamazing!!! Now that we have shared all my texture faves with you, we want to know… Do you use texture spray? Tell us in the comments or send us a DM to chat about styling and product recommendations!!
0 Comments
Curl friends, it’s your time! Wondering what the CADŌ is all about?
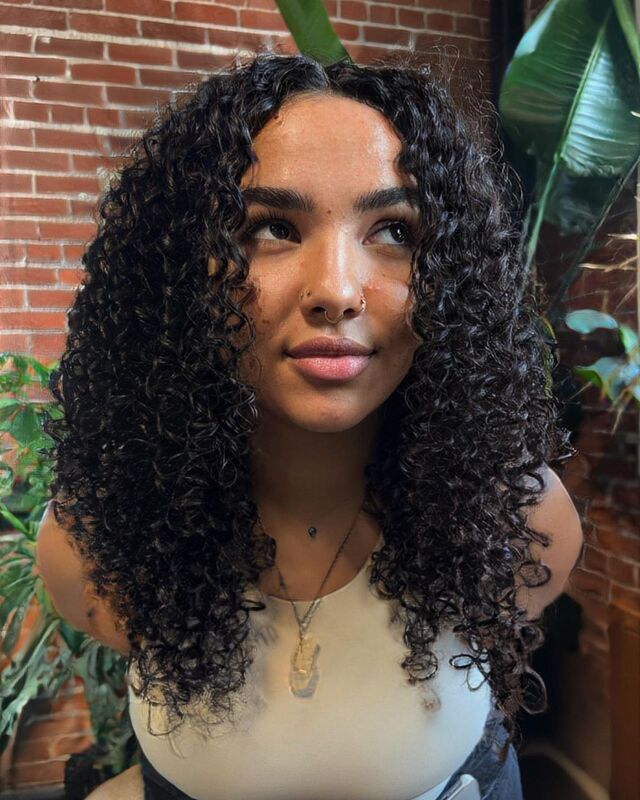
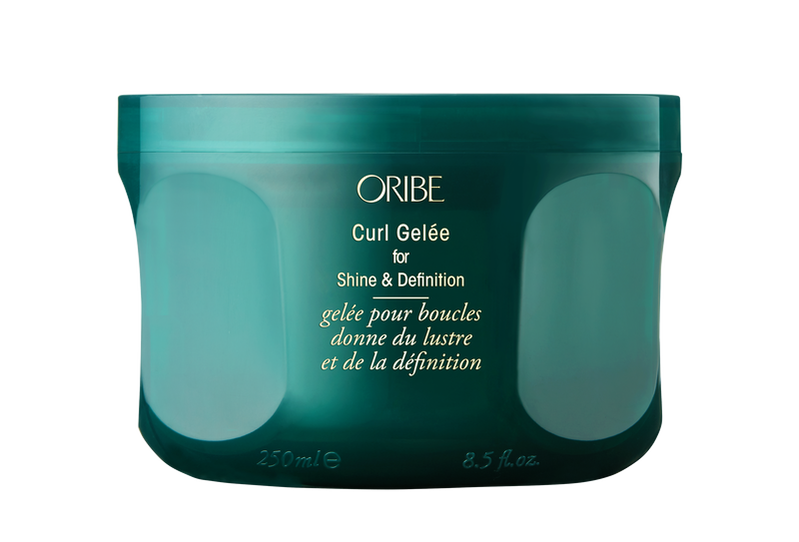
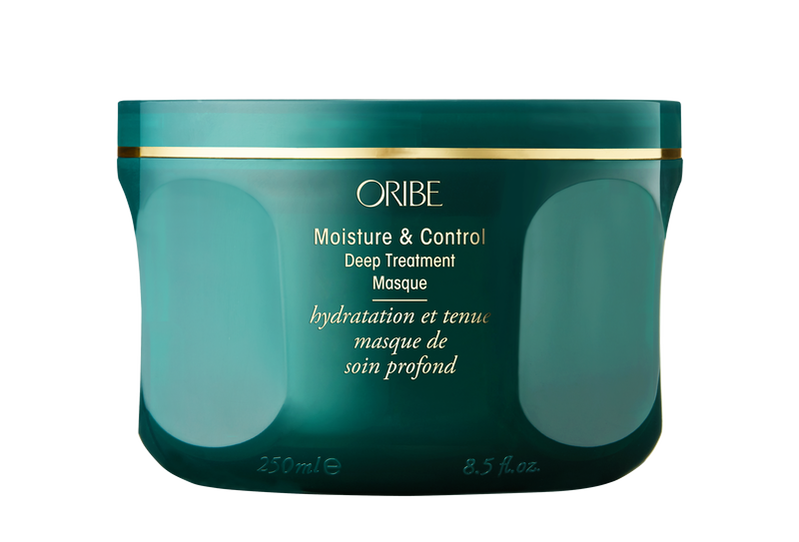
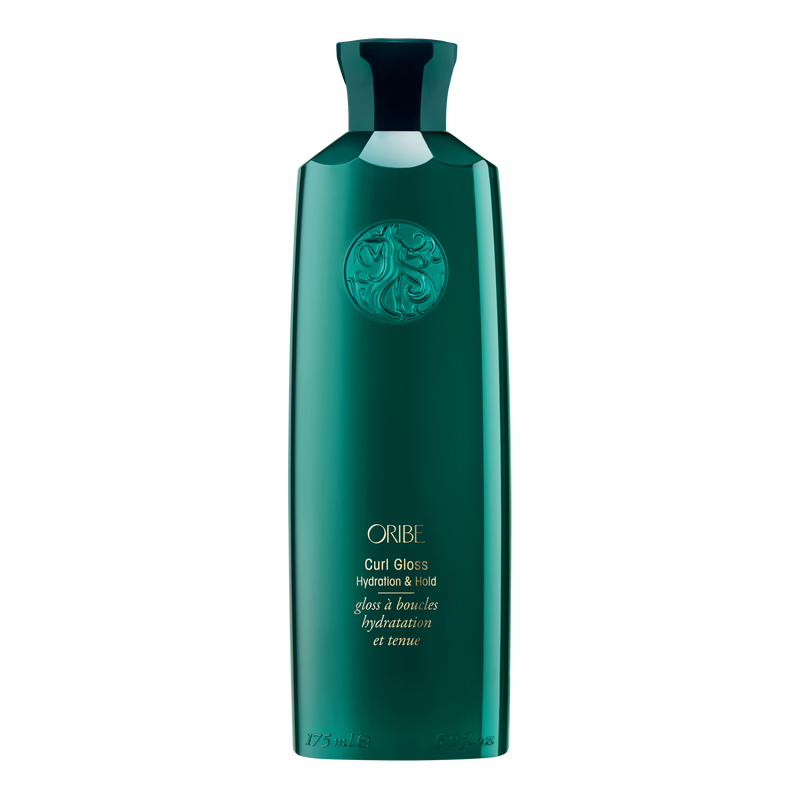
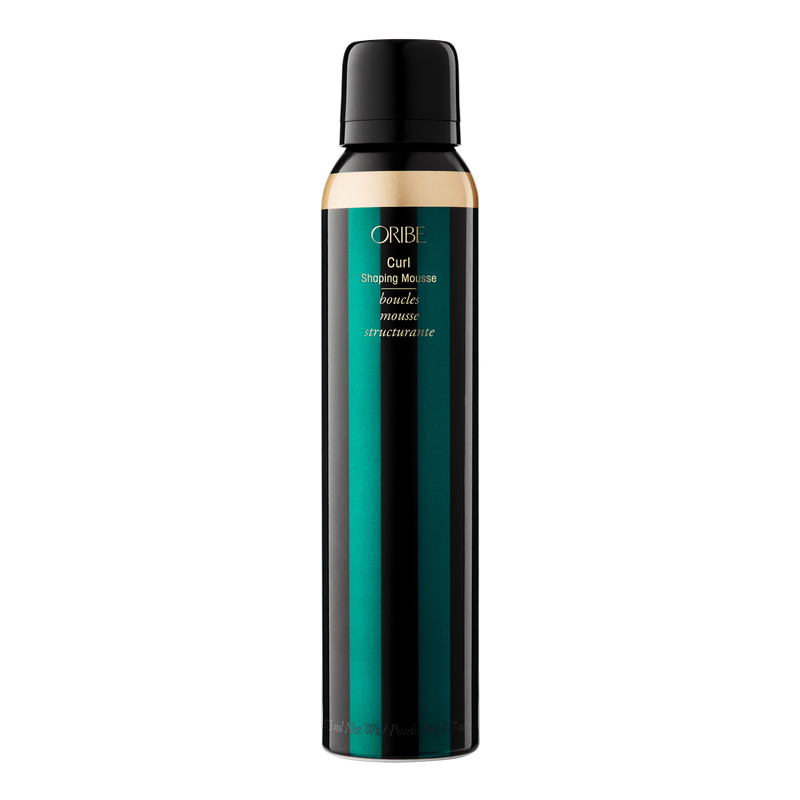
After experimenting and perfecting my cado skills, I have found that Oribe has some amazing products; the Curl Gelée, Moisture Mask, Curl Gloss, and Shaping Mousse are my top products when doing both CADŌ cuts and styles! Here are the deets on managing and achieving healthy, defined, bouncy curls at home:
Invest in your curls now - thank me later 💋 xo Hey! I'm Hope, and today I wanted to touch on a topic that is really important to me: touching or asking to touch a Person of Colour (POC)’s hair. First and foremost, you should never touch another person, including their hair, without asking. It is a super basic concept that is pretty shockingly ignored at times (e.g., POC’s hair or pregnant women’s bellies) - but I think we can all agree it is SO uncomfortable to be touched without consent. Now onto asking to touch a POC’s hair and I would like to start with a little exercise. If you are not a POC, I want you to think about the last time a POC asked to touch your hair… I’d be willing to bet this has happened slim to never. When I was growing up I was a part of predominantly white communities and often at school, at church, and even in grocery stores, people would ask to touch my hair. Now, this really sucked, because when someone reaches to touch my hair, it signals that I am different. It may not be intended or mean-spirited but it definitely draws unwanted attention and singles me out as different. By asking to touch a POC’s hair you feed into the stereotype that the only “normal” types of hair are straight, fine, less textured hair and that by contrast, our hair is unusual and different and so completely outside the norm that it has become a novelty! It can conjure up feelings of otherness and really make one feel like they are on display - so just really not a great feeling overall. Now that I am an adult, I handle these situations with education, tact, and boundaries. However, thinking back to that little girl that I was, and thinking about all the other little children out there with textured hair today, I just wish there was more education surrounding the topic. The Big Takeaway: If someone wants you to touch their hair, they will offer and you won’t have to ask. So now you know why you should not touch or ask to touch a POC’s hair - but is there a way to express interest without causing bad feels? Of course! If you are interested in learning about someone’s hair type or style, simply ask them to tell you about it! Open up a positive dialogue: say you think their hair is gorgeous or their style is so cool. Ask questions about where the style originates, how long it takes to style like that, how long the style will last, and so on. Real genuine interest is always welcome!
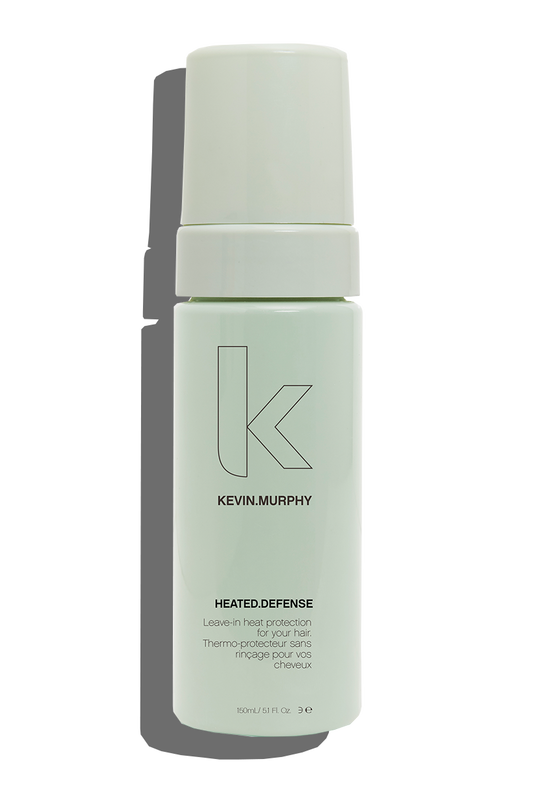
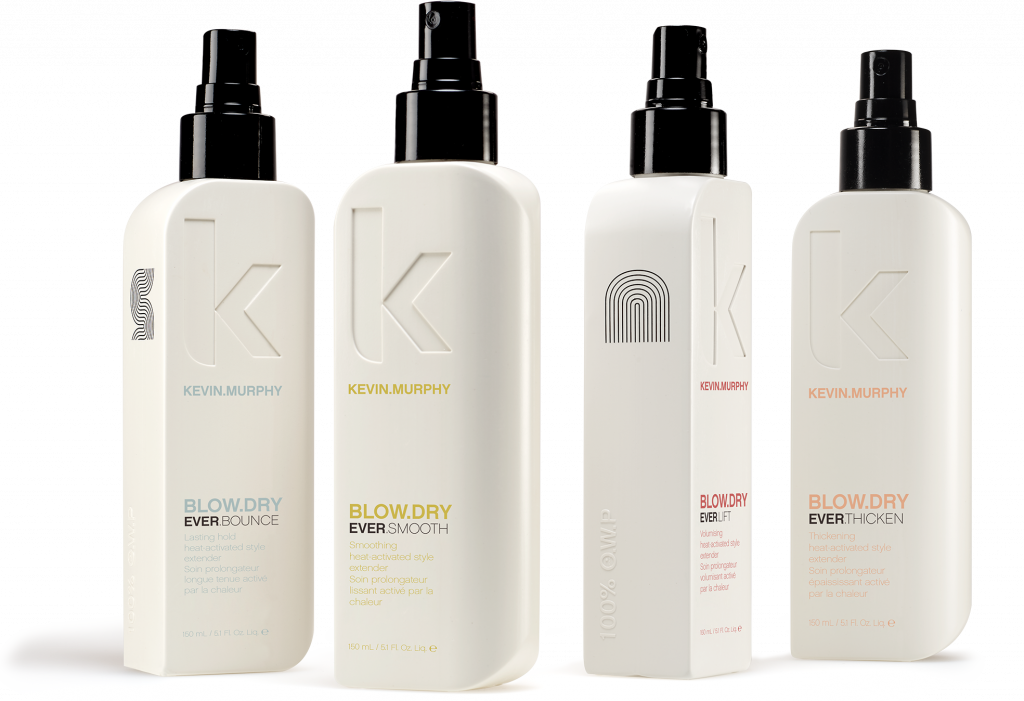
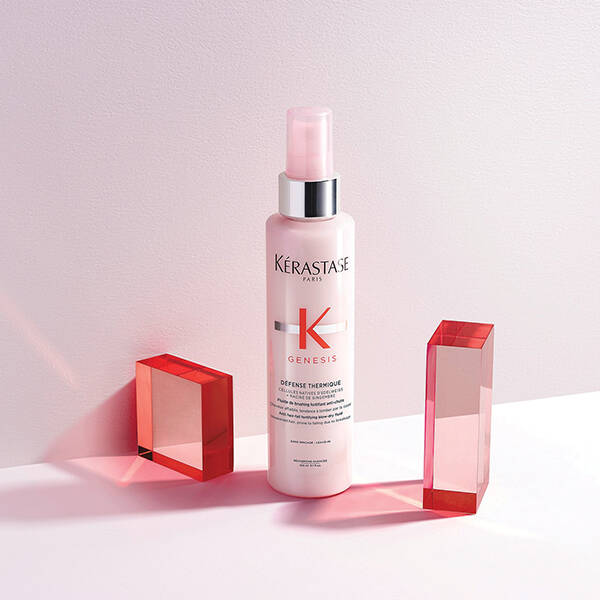
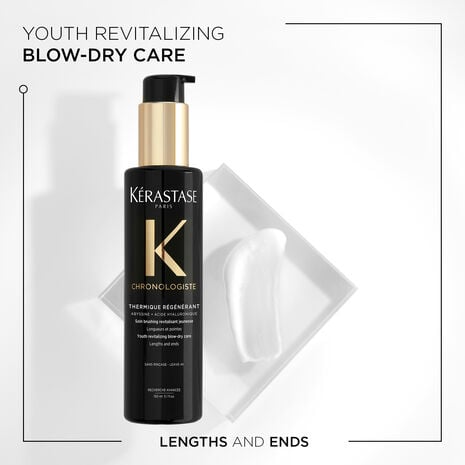
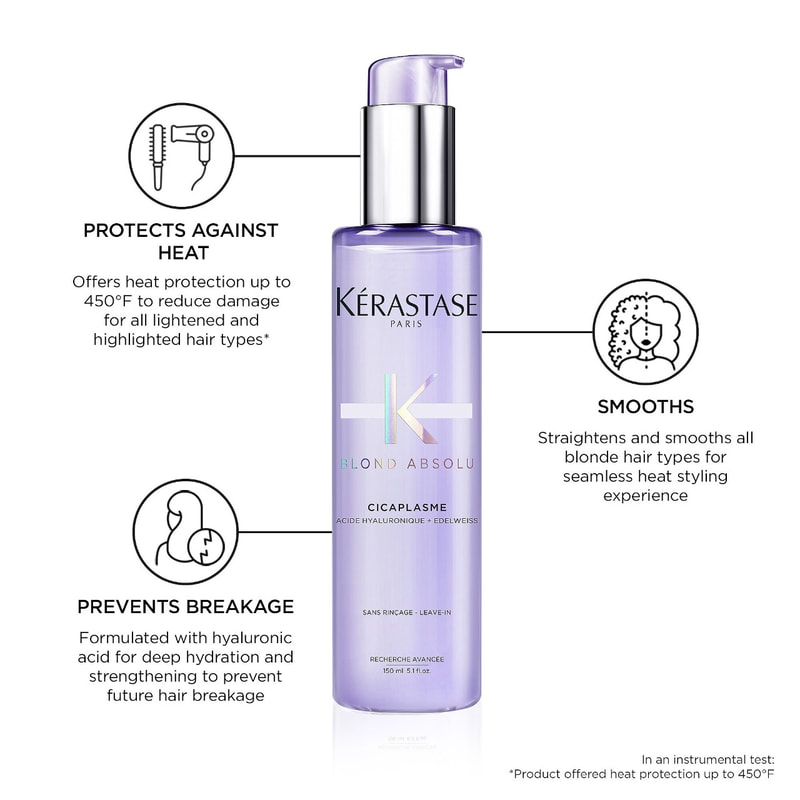
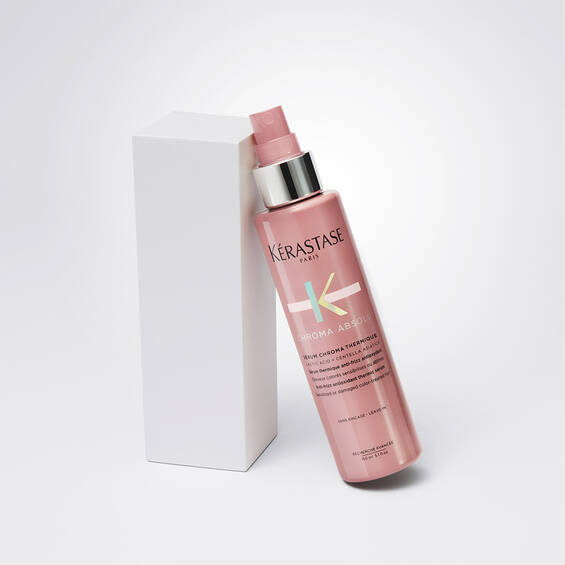
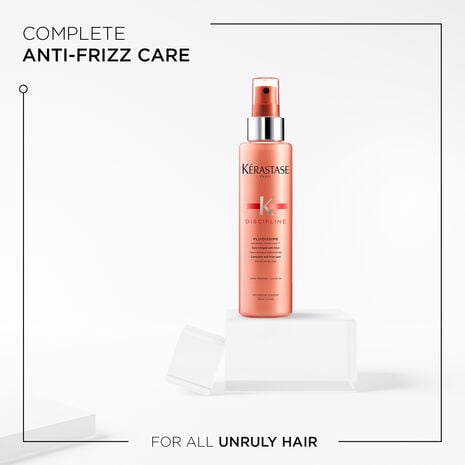
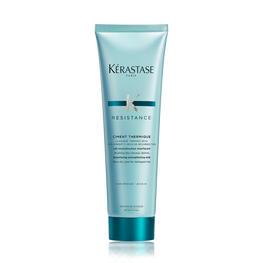
Using Heat Protectant is essential when using hot tools on your hair - but why? Heat protectant products help to reduce the amount of damage that your hair sustains when exposed to high temperatures. They work by forming a protective barrier around the hair shaft, which helps to prevent moisture loss and breakage. Still not convinced? Here are some of the main benefits of heat protectant: 1) Avoid Split Ends & BreakageOne of the main benefits of using heat protectant is that it can help prevent split ends and breakage. When using hot styling tools on your hair, the high temperatures can cause the hair shaft to become dry and brittle. By using a heat protectant product, you are actively promoting healthy and strong hair! 2) Reduce Frizz & FlyawaysWhen you use hot tools on your hair, the high temperatures can cause the hair cuticle to become rough and uneven leading to frizz and flyaways. Using a heat protectant can help to smooth the hair cuticle and reduce frizz, leaving your hair smooth and shiny! 3) Extend the Life of Your HairstyleThe use of hot tools without heat protectant can cause your hairstyle to fall flat more quickly. Using a heat protectant will help to keep your hairstyle looking fresh and bouncy for longer! Heat protectant products are an important step in protecting your hair from damage caused by hot tools. Say goodbye to split ends, breakage, frizz, flyaways, and flat hairstyles with some of our favourite heat protectants: KEVIN.MURPHYKÉRASTASEFor more information, feel free to contact us at 306-581-4247 or book in for a free consultation with one of our talented stylists! Breakouts. Those stubborn things we want to go as fast as they appear. When dealing with these pesky guys, there are specific dos & don’ts we need to follow to make sure they heal properly!
I hope these 5 steps can help you manage future breakouts! If acne is something you struggle with, check out my Acne Bootcamp. Plus if you have any other breakout or skin questions please shoot me a DM, leave a comment, or book a free consultation.
As an extension specialist, one of the most common questions I get in my DMs is: “What is the difference between Weft Extensions and Tape-In Extensions?”. So let’s get into it! 1. Application MethodTape-In Extensions are attached to the hair using adhesive. They are applied by sandwiching your own hair in between two individual tapes. The number of tapes needed will depend on your desired length and/or thickness. The process is repeated with tapes needing to be removed and re-installed each time to move them up. This is repeated roughly every 5-6 weeks, depending on your hair growth rate. Hand-Tied Weft Extensions are applied by sewing the track of hair into your own hair with a stitching method using beads, string, and a sewing needle. Your stylist will place a row of beads along your head and then sew the hair into place. A move-up can be done 1-3 times without taking the extensions out fully and repeating the whole process. These move-ups are highly recommended to be done every 5 weeks to avoid an overgrown weft. *Depending on your stylist's skill level with each method, the application times can vary. Personally, it takes me roughly the same amount of time to install a fresh set of extensions of either type, although Express weft move-ups are fast and only take about 5-20 minutes! 2. Aftercare and MaintenanceTAPE-IN EXTENSIONS When the tapes are first installed, it's important to avoid excessive sweating, washing the hair, or using a sauna/steam room for the first 48 hours. It is also recommended to not wear your hair up in a tight bun or ponytail for the first week or so, as doing so can cause too much tension on your scalp. Tapes will need to be removed and reinstalled every 5-6 weeks. The removal is done by spraying the adhesive with a solution to dissolve the stickiness (by 6 weeks, they should be very loose anyways and come out easily), then removing and replacing the old tape adhesive with new, and repeating the process of applying the hair. HAND-TIED WEFT EXTENSIONS Wefts are similar to tapes in the sense of not washing them or getting them wet for the first 48 hours, and not to wear them pulled tight in the first week-ish. With both types it's best to allow your hair to grow a bit so there is less scalp tension. A weft move-up should be done every 4-5 weeks to avoid excessive grow-out space that can cause matting or unwanted damage to the weft's track. If move-ups are pre-booked on schedule, then your stylist should be able to perform an express move-up, which can be done 1-3 times if proper care is taken. An express move-up involves just moving the beads to re-tighten the weft, with no need to remove and reinstall every single time. *Salon quality products should be used for both tapes and wefts to ensure good hair health. 3. Styling, Volume and VersatilityBoth types of extensions will let you naturally style your hair. Although tapes can give you more of an all-over placement due to their customizable nature, they can be much harder to conceal in certain hairstyles. Depending on how long and thick your natural hair is, it may be harder to hide all the tapes in a high ponytail or other updo. With wefts, it is easier to conceal since they have a single track. When it comes to volume, you are still able to achieve some with tapes, although it is easier to have lots of volume with hand-tied wefts. And there you have the main differences between hand-tied wefts and tape-in extensions! If you’re unsure which type you’d like - book a free consultation!! I would love to help go over the options of which option will work best with your hair!
Hey there, it is the SASO Curly Hair Specialist crew here writing a collaborative blog to share about one of our all time favourite curly cutting techniques: The Cado Cut!
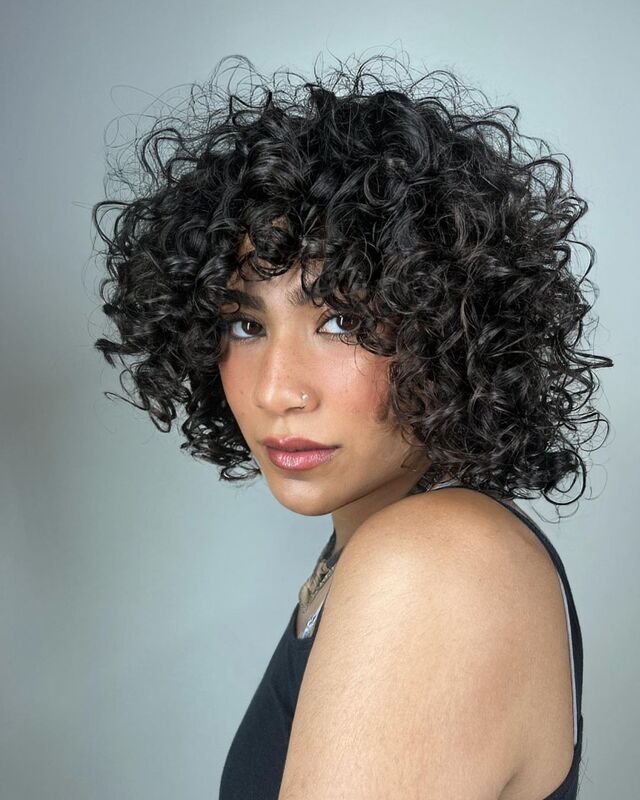
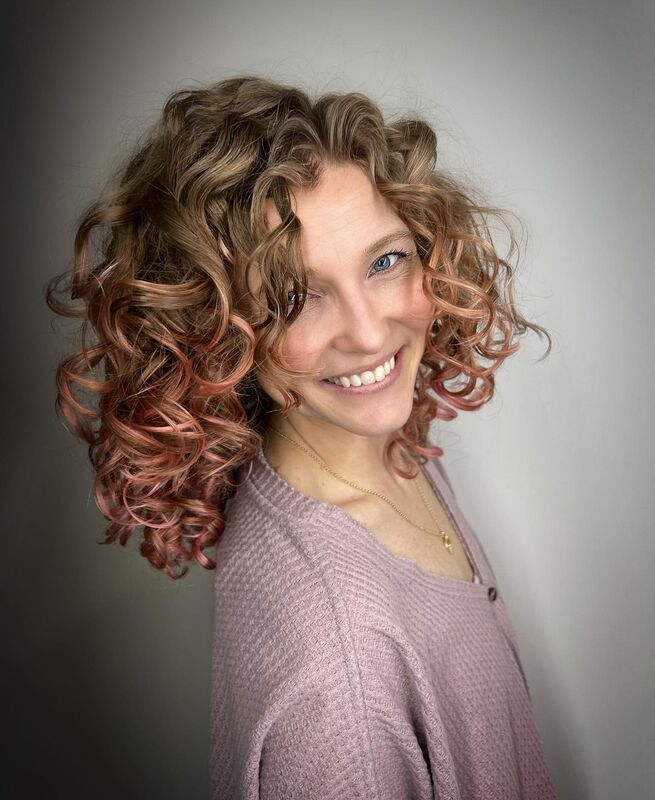
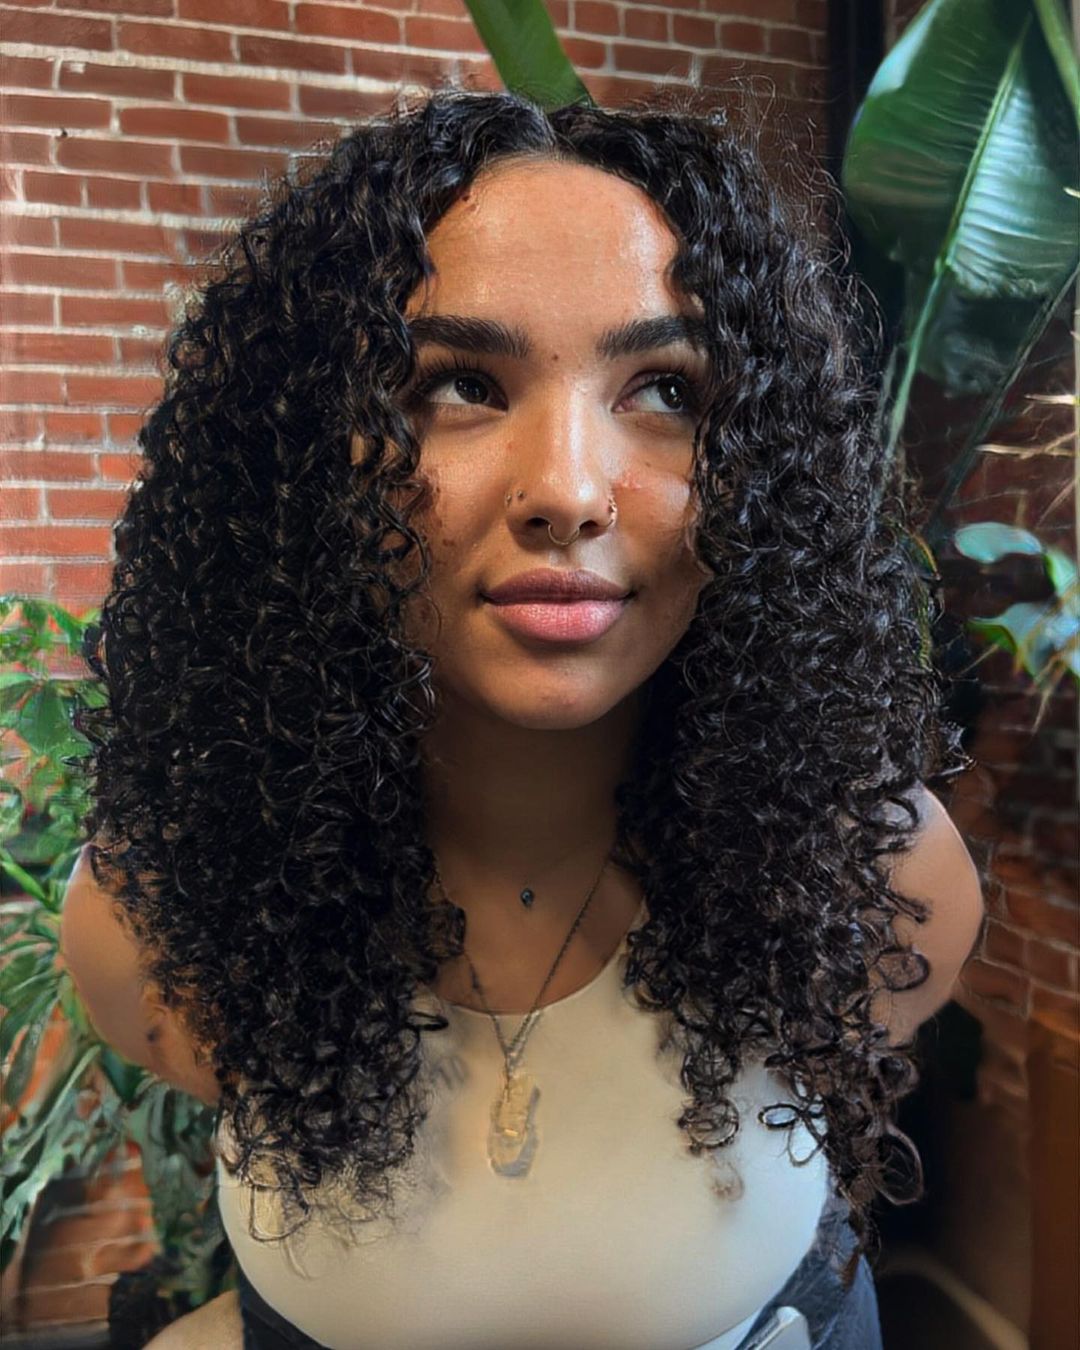
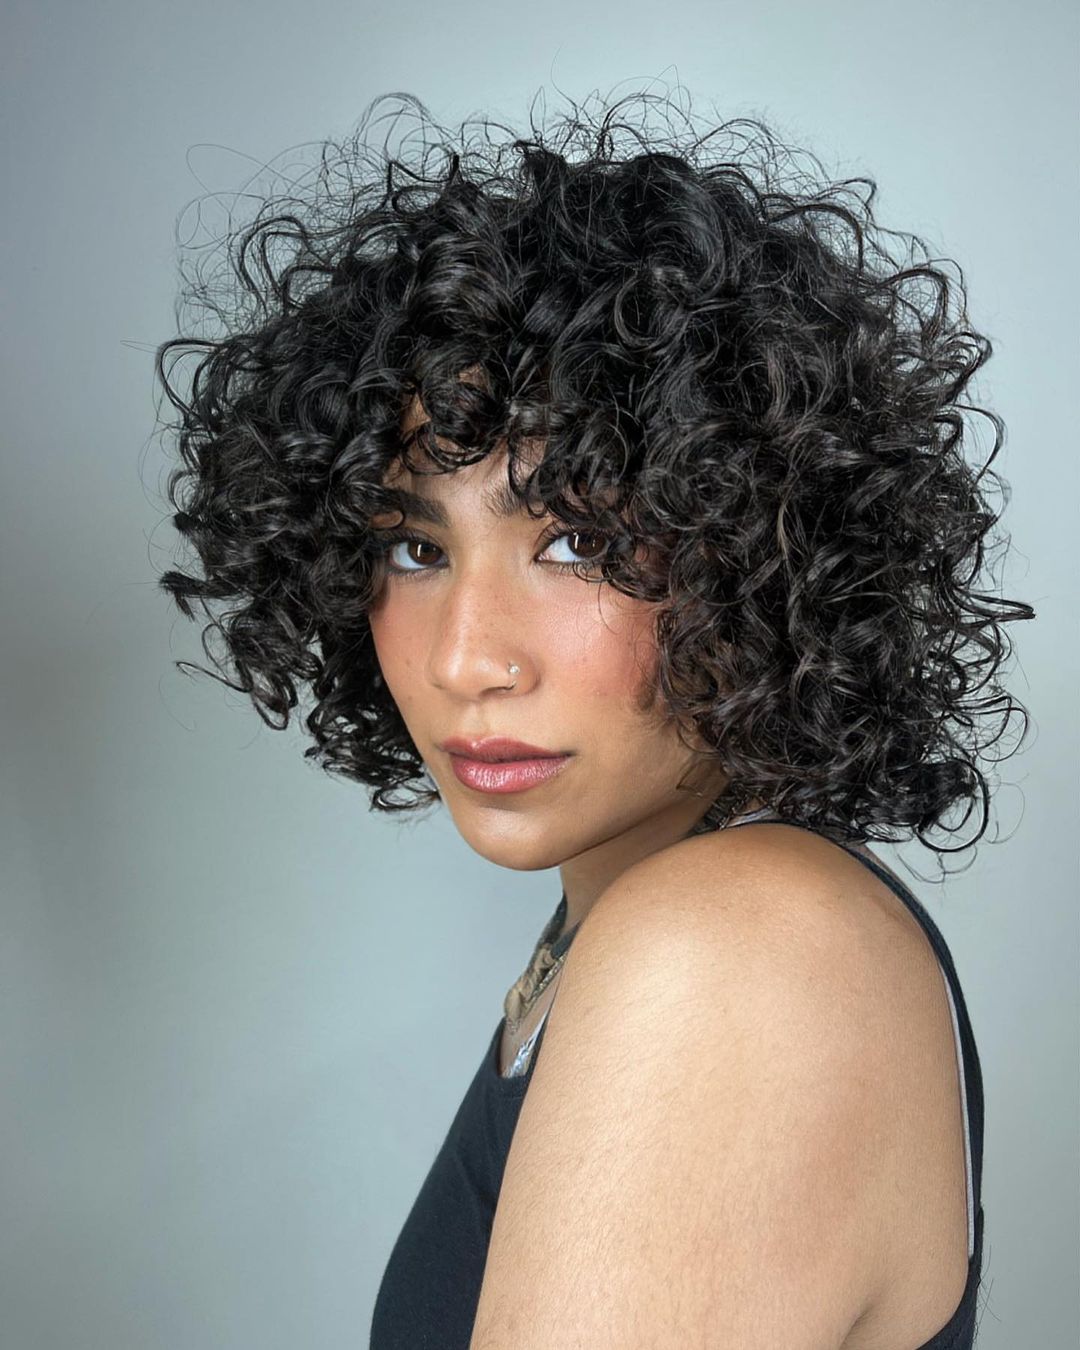
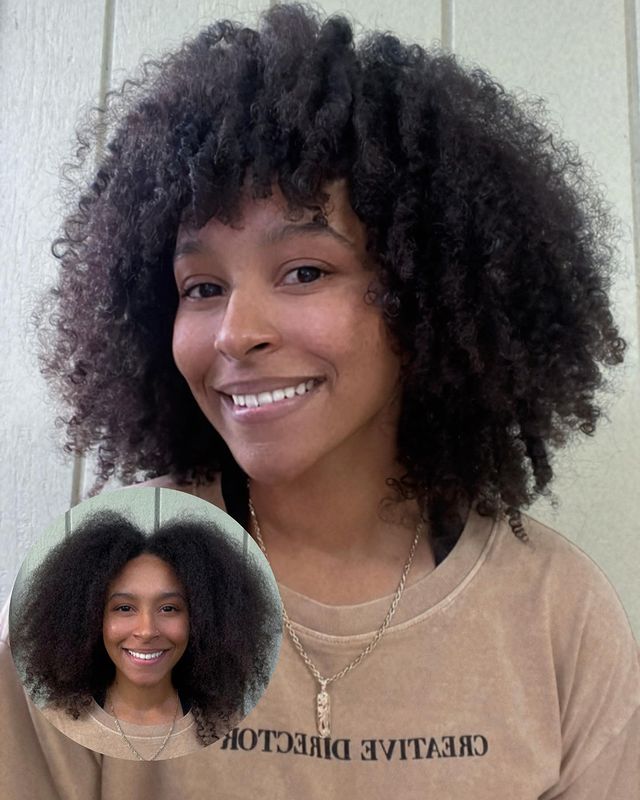
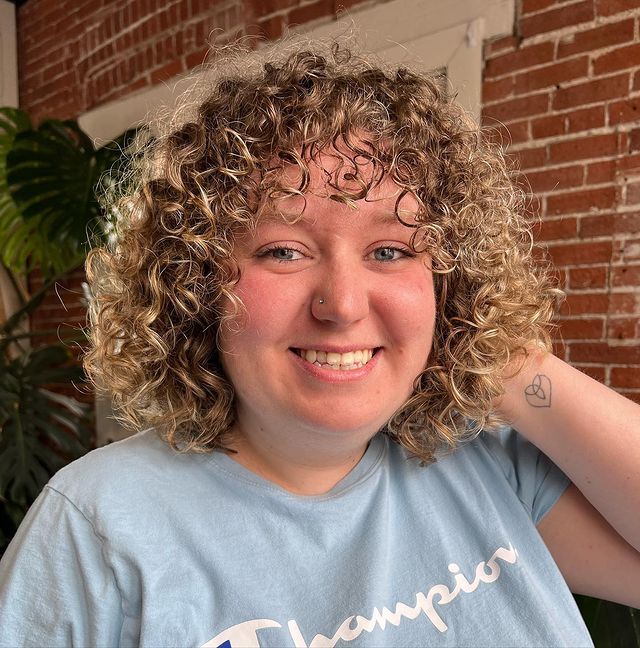
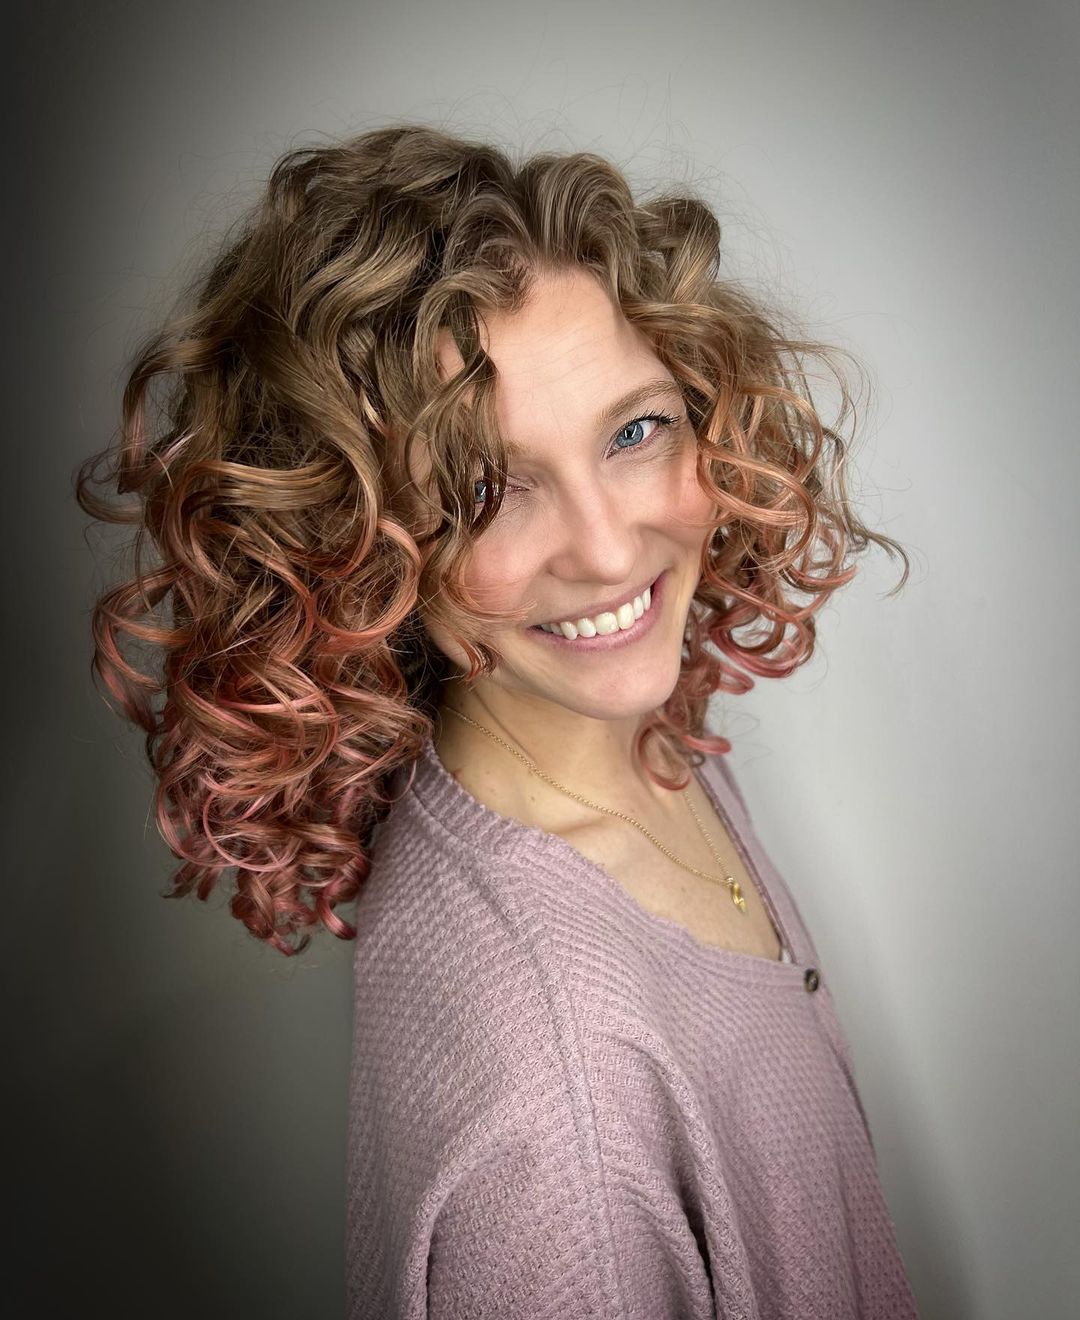
Textured hair is some of the most beautiful hair out there. With so many different variations of gorgeous curly and wavy textures there is so much individuality and so much to love... but oh man can it be difficult to find the style that works for you - this is where the Cado Cut comes in! The Cado Cut is designed to create beautiful cascading layers, volume, and a balanced shape. This means that all types of curls and waves can be cut to enhance, define, and volumize that natural texture! And even better, this cut is designed to be completely customizable for what you as a client are looking for! Looking for more shape and definition? We've got you covered. Wanting more bounce and curl, without sacrificing length? You can have your curls, your bounce, and your mermaid hair too! You may be thinking: "Cool sounds great... but I have had disastrous haircuts in the past. Why should I trust you people??" Super valid question. First, some background on why you may have had some bad experiences: working with curls can be very intimidating for hair stylists. This is due to a few factors, 1- we do not get a good foundational education on curls in hair school and 2- there is an insane amount of different curl patterns and hair types that exist, so feeling confident to tackle them all takes time and practice. Unfortunately this gap in our traditional education leads to a lot of mistakes in the real world - this is the very reason why we have designated Curly Hair Specialists at Salon Society. Our team of curl experts have taken additional education and work with curls regularly to keep up our skills. We are also always on the hunt for new classes and new curly cutting techniques to ensure we can always meet the expectations of our curly clients - and that is how we found the Cado Academy.
The Cado Academy and cutting method class was honestly life changing for us! We all came out of that course feeling absolutely invigorated and can approach ALL curl patterns and hair textures with confidence and excitement. This course and new technique are probably some of the most rewarding and valuable education we have ever taken. Knowing that we are able to offer stunning results to every curly client is such an absolute dream come true!
..And we would love to help you fall in love with your curls too! Book for a consultation with one of us today and let's chat about your curly hair dreams - and then make them a reality!
check out some of our Cado transformations!Acne is one of those topics that is surrounded by SO MUCH misinformation!! There is so much conflicting advice, product endorsements, active ingredients, DIYs, Dos and Don'ts, and drastic solutions floating around that sometimes it feels IMPOSSIBLE to know what is fact and what is fiction. So today I am going to break down some of the acne myths that truly drive me up the wall!!! MYTH: Acne-prone skin requires a bunch of active ingredients to combat acne.This is one of the top myths I want to break down. Depending on your skin, some people should be using no active ingredients at all, while some people can use a variety (depending on the ingredients -some ingredients should not be used in combination with each other).
MYTH: Popping pimples is fine - or even beneficial.This is not true! In general, leave your zits alone! A zit is not going to last forever - your body will always naturally heal or expel it (like in a hot shower) in time. Most people are unaware that when you try to pop a pimple and it doesn't pop, what's actually happening isthe inflammation may have popped under the skin, causing the acne to spread further. My recommendation is always to leave your skin be and see your esthetician if you want extractions! However, another option is to invest in some zit stickers, which will absorb secretions and prevent unnecessary touching of the spot. They can also help heal the inflammation faster!
MYTH: Acne only happens in teens and should clear up by the time you are an adult.False! Acne can be caused by a variety of factors including hormones, environmental stressors, medications, stress, skin type, and lifestyle. Some people never have acne as a teen but struggle with it in adulthood. Hormones are complex systems that can fluctuate throughout a person's lifetime for a wide range of reasons. MYTH: Acne means that someone doesn’t take care of their skin properly.This is absolutely not true! Anyone can get acne for any of the reasons mentioned above. It is of course important to keep skin healthy with a skincare routine, but even someone with a dedicated regimen can still deal with breakouts or persistent acne.
MYTH: Products with the same ingredients have the same effectiveness.Not all products are created equally. Even though a product might claim to include a certain ingredient, particularly active ingredients, this does not mean that it will give the same results! One example could be Vitamin C products from a drugstore brand vs. a professional-grade brand like Dermalogica. The difference is the quality of the Vitamin C molecule - some molecules can penetrate deeper than others, while some just stay on the skin's surface. There are definitely a ton of myths floating around about how to treat your skin, prevent acne, and treat acne - these are just some of the ones I hear the most often! If I missed one that you’ve heard and you aren’t sure if it’s true, I would be happy to help you break it down! Send me a DM on Instagram, post in the comments below, or book a free skin consultation and we can chat in person. I can answer your questions about acne and give you tips on how to treat your skin’s unique concerns.
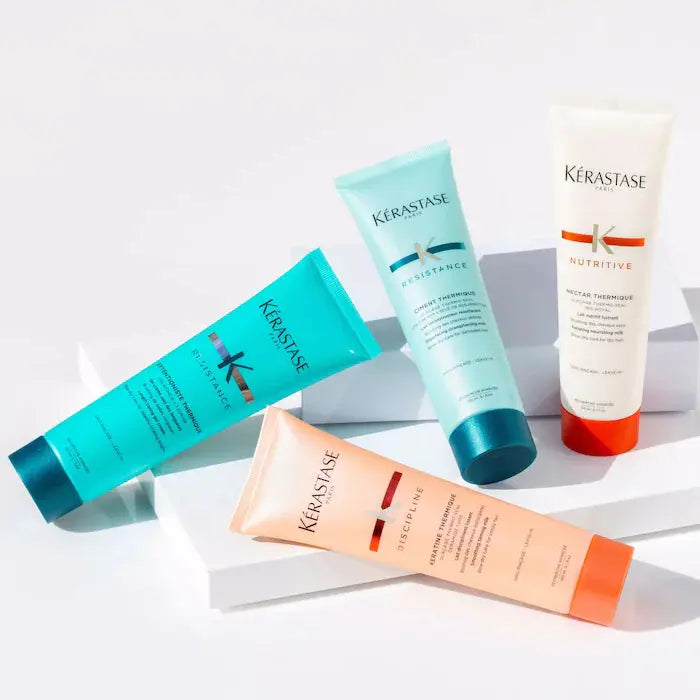
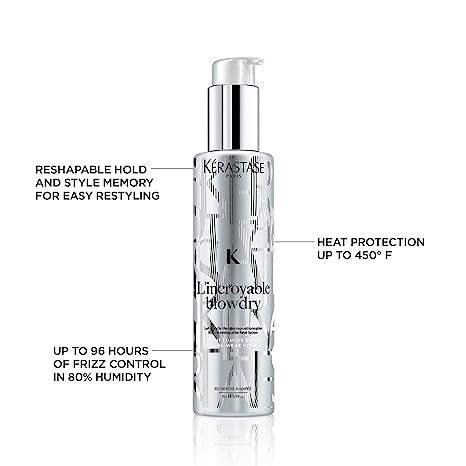
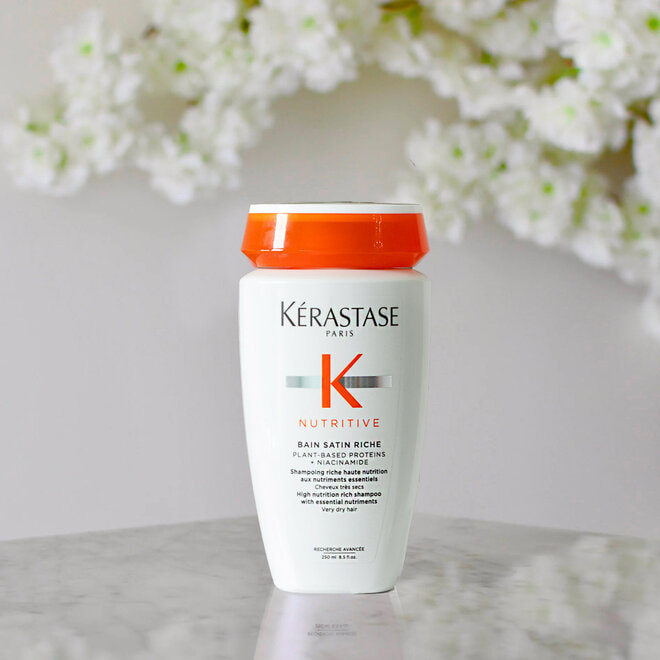
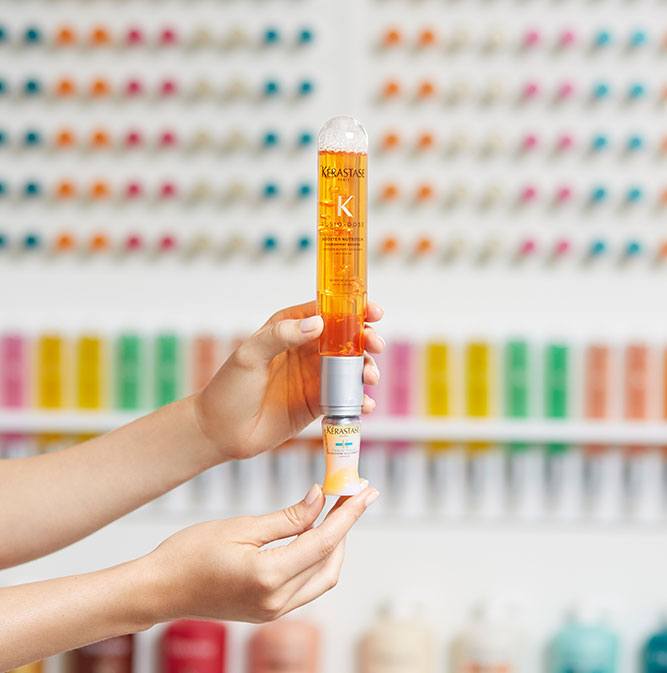
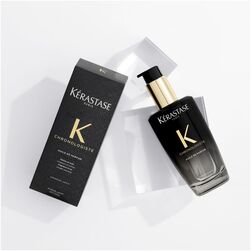
Hello! Stefan here from Salon Society. I have been a hairstylist for 16 years and am one of the two SASO stylists that offer the European Blowout. The European Blowout is a luxury experience which results in an iconic, voluminous, silky finish. Today I am going to spill some of my European Blowout secrets andtell you about the superstar products that make this blowout result so stunning. The European Blowout is completed using our fave European product line Kerastase Paris. I first started my training with Kérastase Paris in 2011, I absolutely fell in love with the products, became a certified Kérastase specialist, and have been using them ever since! The foundation to a fabulous blowout is always understanding the hair type I am working with and pairing technique + products to reach the desired soft, shiny, and bouncy result. These are the best products to achieve these results:
Now you have the inside scoop on all the products that are used to create the stunning European Blowout! I hope these products will help you get a better at-home blowout. Which product are you most excited to try?
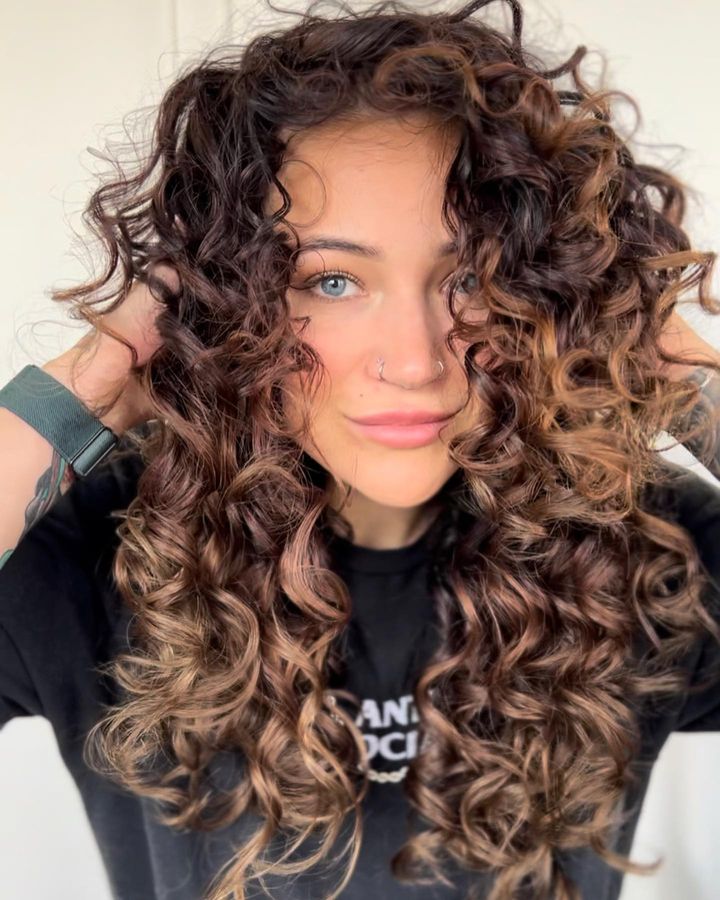
Hello curly people! It's me, Advanced Master Stylist & Curl Specialist, Aaron Brousseau writing today to chat about natural curls. As a person with curly hair, I completely understand how frustrating it can be trying to make those damn curls do what you want them to! But never fear - today I am going to share my 8 Steps to Better Curls: Curly Hair Routine. This curly routine is only 8 steps and it really makes a world of difference in getting the most bounce and definition out of your natural texture. The key equation to remember is that Hydration + Structure = Flawless Curls.
As a Curl Specialist, there is nothing more rewarding than seeing the fresh confidence my clients gain by learning the best tricks and tips for their natural curls. Every person's hair is unique and you may have to experiment to find the routine and product combo that is best for you - but I hope my 8 Steps to Better Curls helps you find the way to yours! If you have any questions about curly hair or any of the products mentioned, feel free to send me a DM or leave a comment below. We cannot wait to see you (and your curls) at Salon Society!
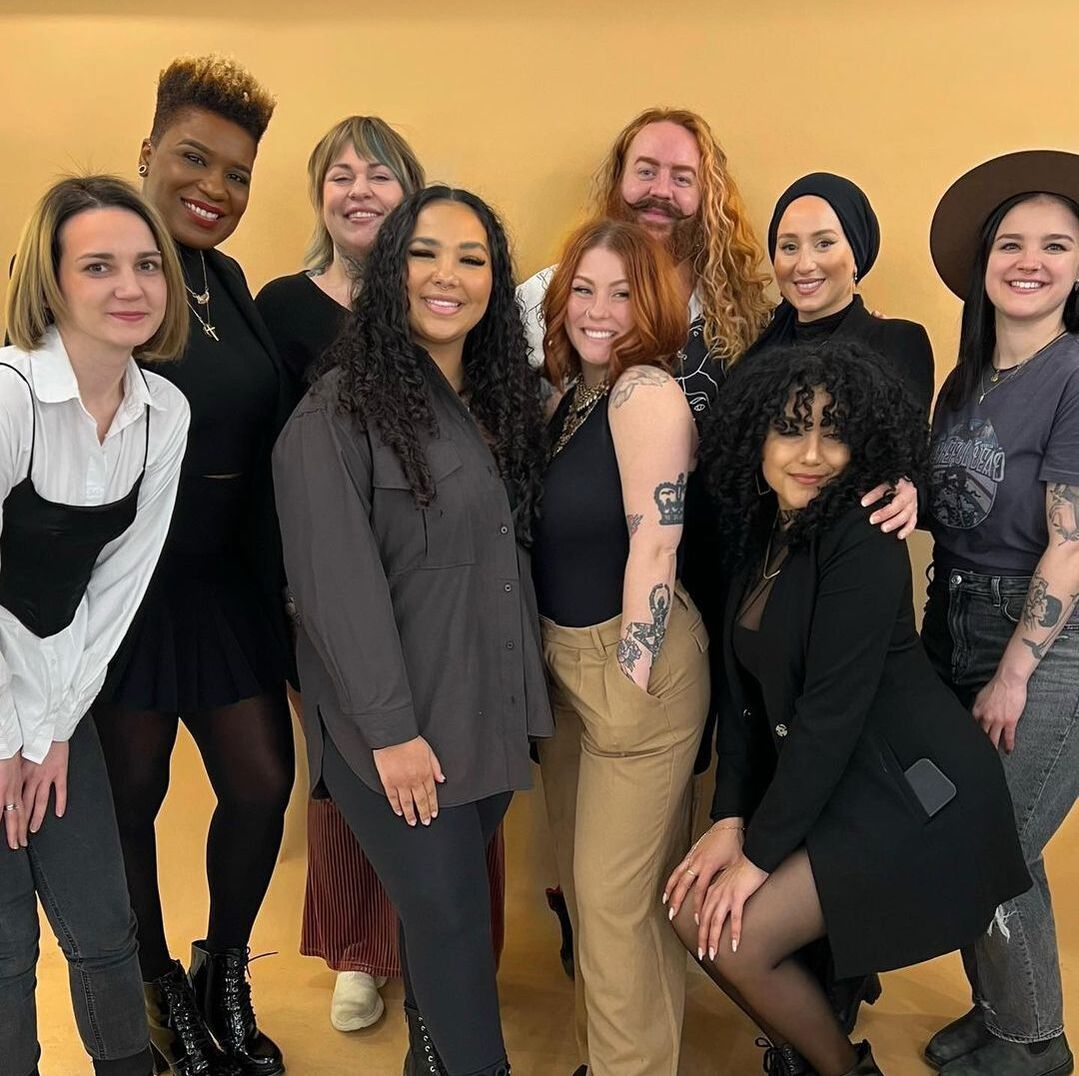
Our Curly Team:
|
SASO VIEWSExpert opinions from our team on all things hair, skin & nails! CATEGORIES
All
ARCHIVES
July 2024
|
|
|
|







 RSS Feed
